Lightroom Editing: Before and After - indoor hotel scene
Starting point
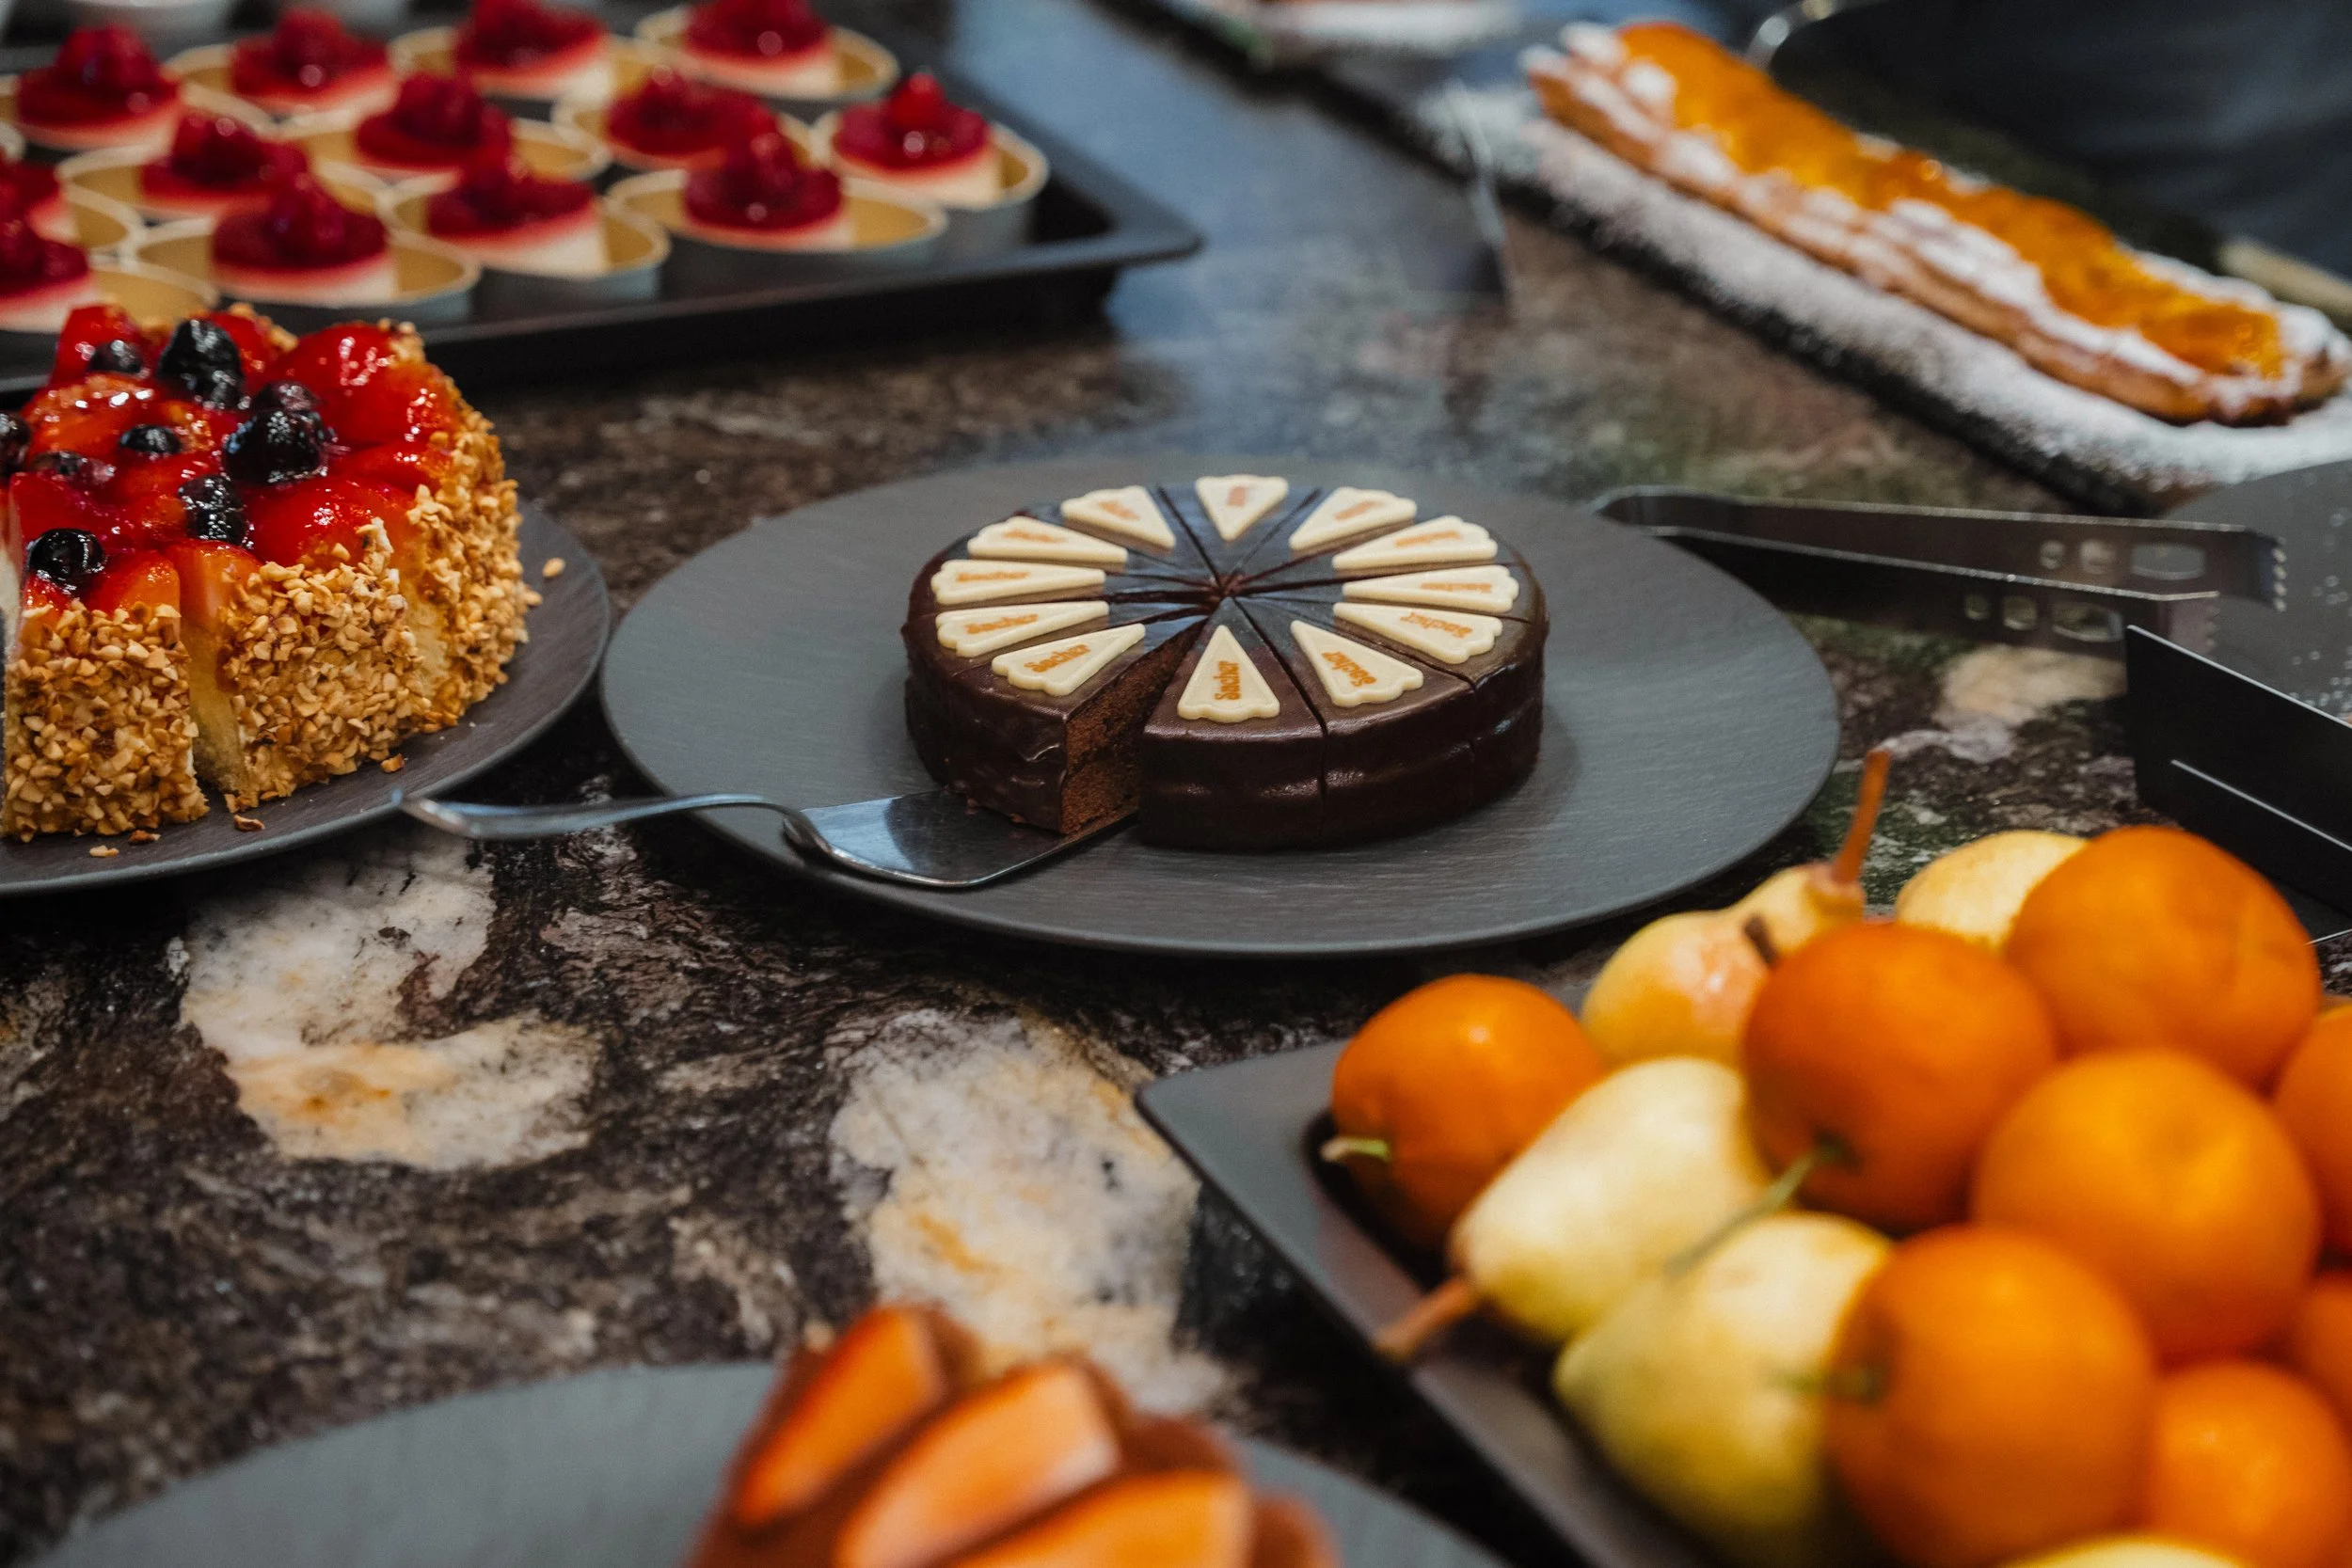
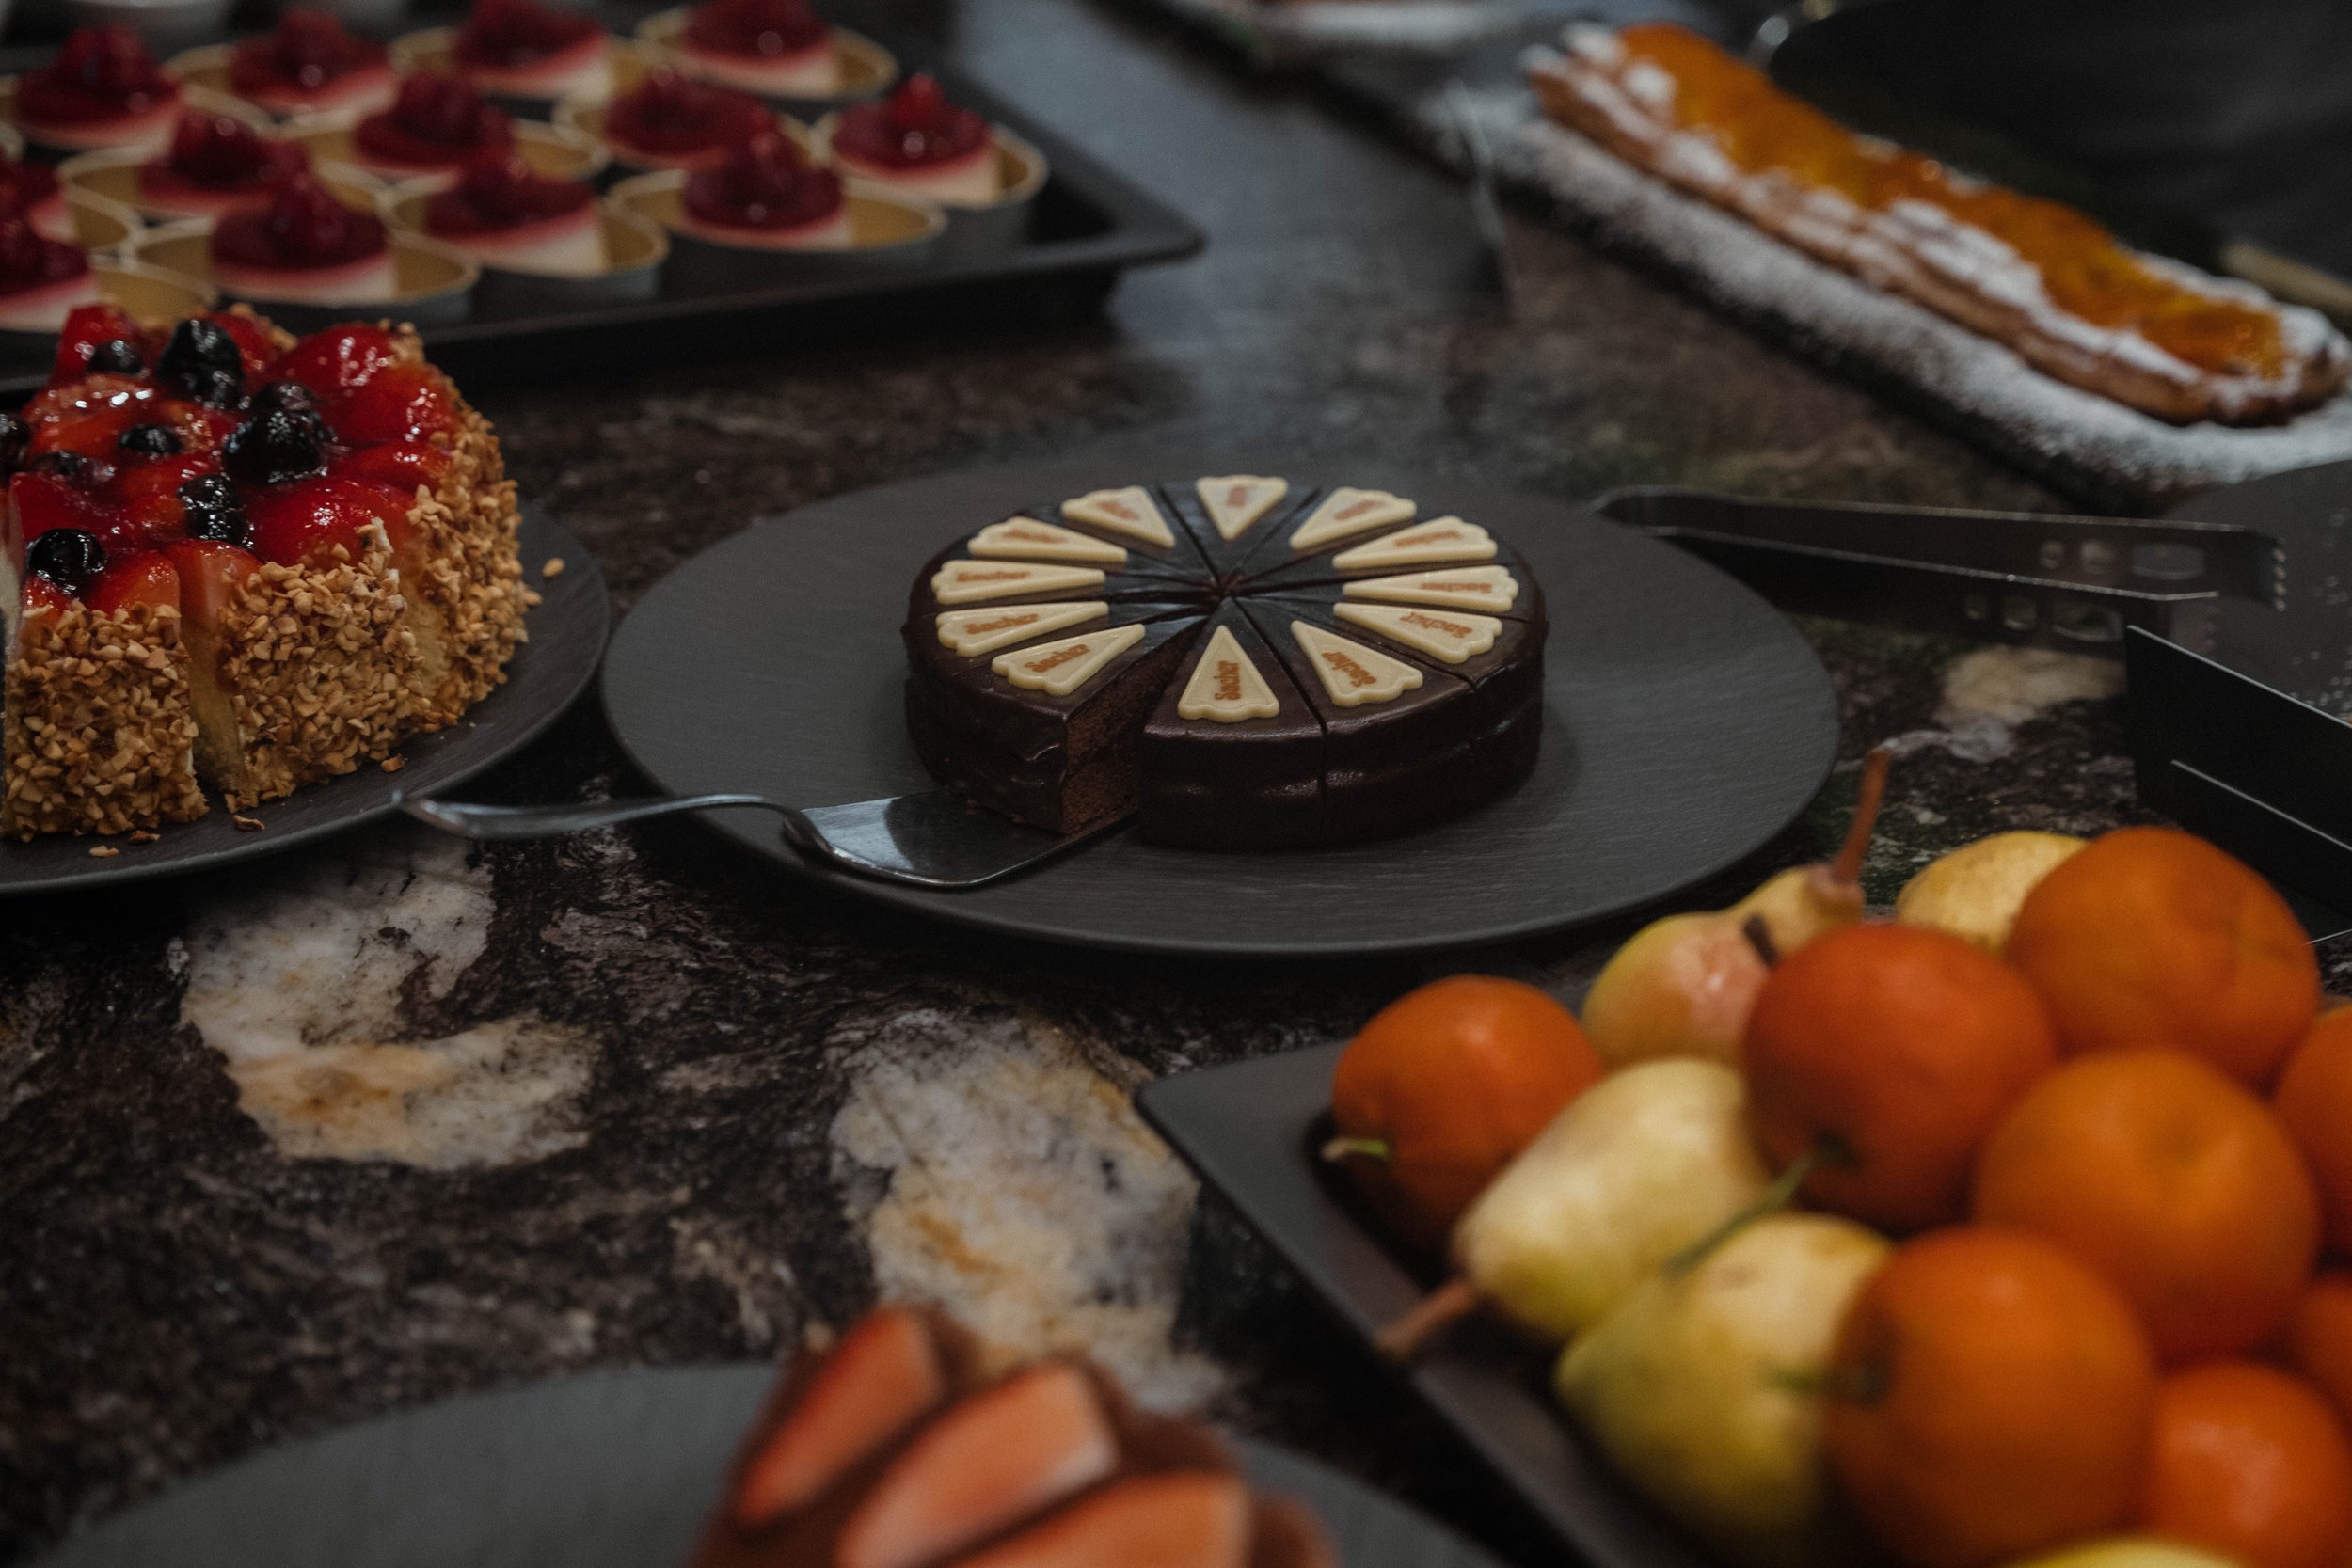
This image was taken indoors in Italy, in a quiet hotel called Bad Fallenbach where food, light, and atmosphere come together naturally. The scene isn’t about perfection or styling for the camera. It’s about presence — a moment of stillness before guests arrive, where desserts are prepared, fruit is arranged, and the space holds a calm, almost domestic warmth.

RAW Photo. Lightroom Edit is shown below at the end of the article.
The unedited photo already had a strong foundation. The light was soft and directional, the textures were rich, and the composition felt balanced. What it lacked, however, was emotional clarity. The warm tones were overpowering, shadows felt slightly heavy, and the image leaned more toward documentation than atmosphere. My goal was not to “beautify” the scene, but to translate how it felt to stand there: quiet, warm, and intentional.
Exposure and basic adjustments
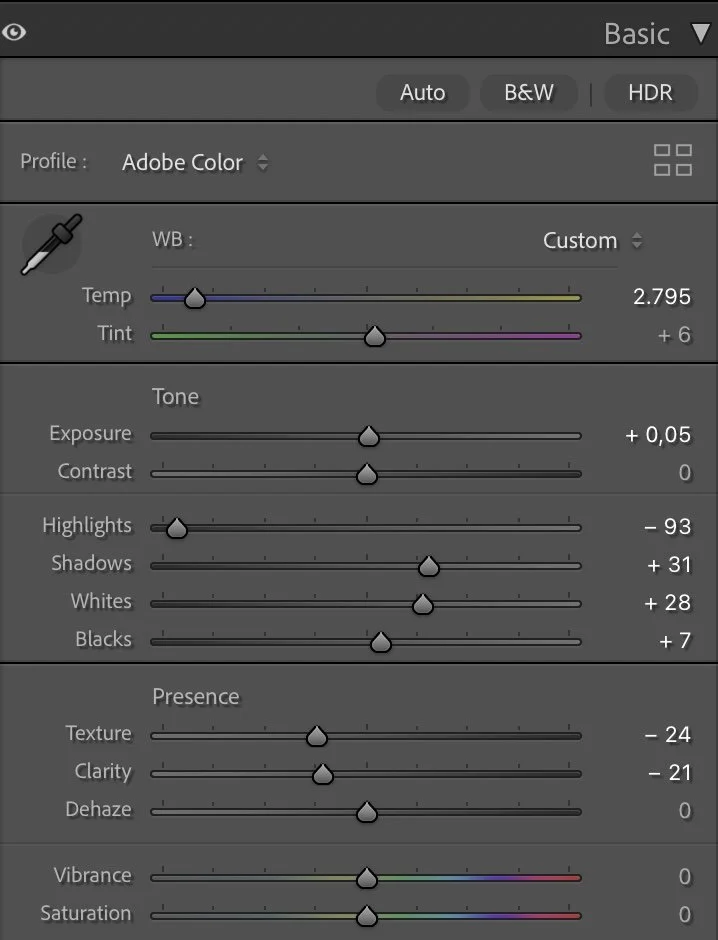
Basic Adjustments in Lightroom
The exposure stayed almost neutral, with only a slight lift (Exposure +0.05) to keep the image open and natural. Highlights were reduced significantly (–93) to protect the brighter plates and reflective surfaces, while the Shadows were lifted gently (+31) so that darker areas retained detail without becoming flat.
Whites were raised (+28) to add clarity to the lighter elements, especially the porcelain and fruit, while Blacks were pushed slightly upward (+7). This softens contrast and avoids harsh separation — important for an indoor scene where the atmosphere should feel welcoming rather than dramatic.
Texture (–24) and Clarity (–21) were reduced to smooth out fine details. Cakes, fruit, and stone surfaces don’t need sharpness here; they need softness. Dehaze remained at 0 to preserve the natural depth of the room and avoid artificial contrast.
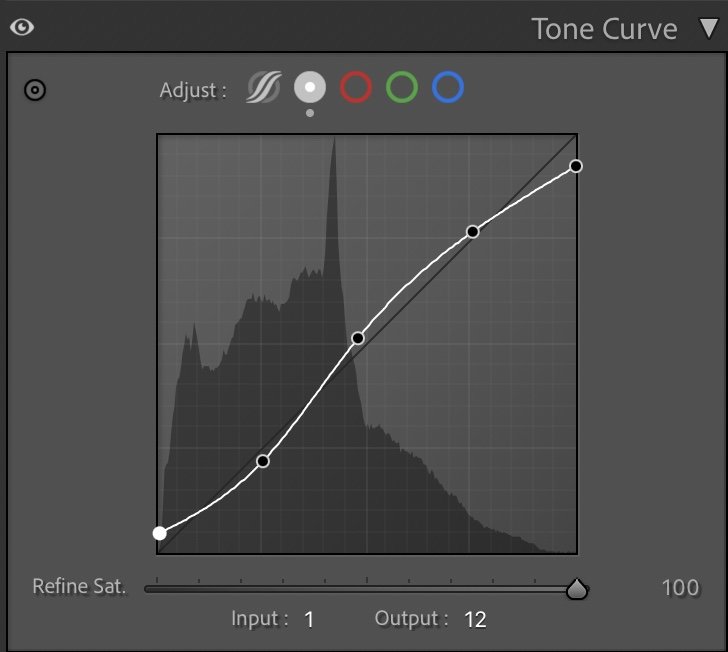
Tone curve in Lightroom
Tone curve — building gentle depth
The tone curve follows a smooth, lifted structure rather than a strong S-curve. Shadows are opened slightly, and highlights are lifted carefully to maintain a sense of air.
This approach keeps the image readable while avoiding a “styled” or editorial look. The goal is subtle depth — enough separation to guide the eye, but not enough to dominate the mood.
The curve helps the image breathe. Nothing jumps out aggressively, and nothing disappears. Everything exists quietly within the same visual rhythm.
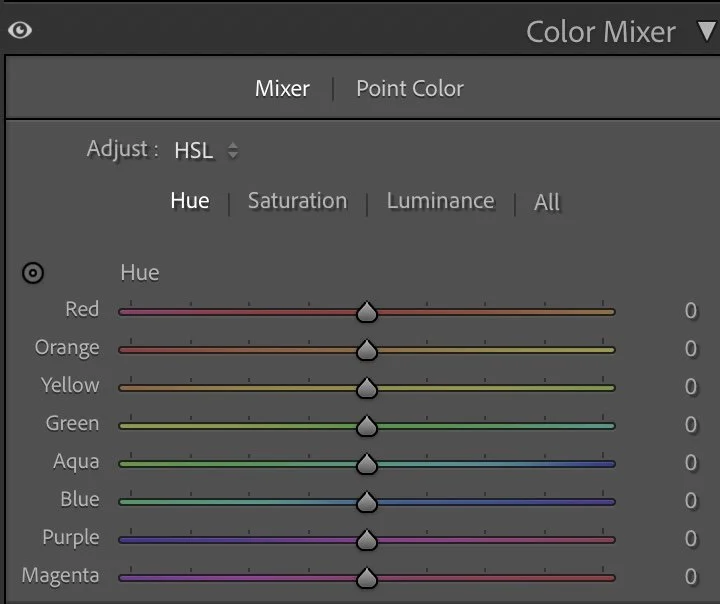
HSL Adjustments – reducing color dominance
Color control was essential in this edit. Indoors, colors can easily overpower mood if left unchecked.
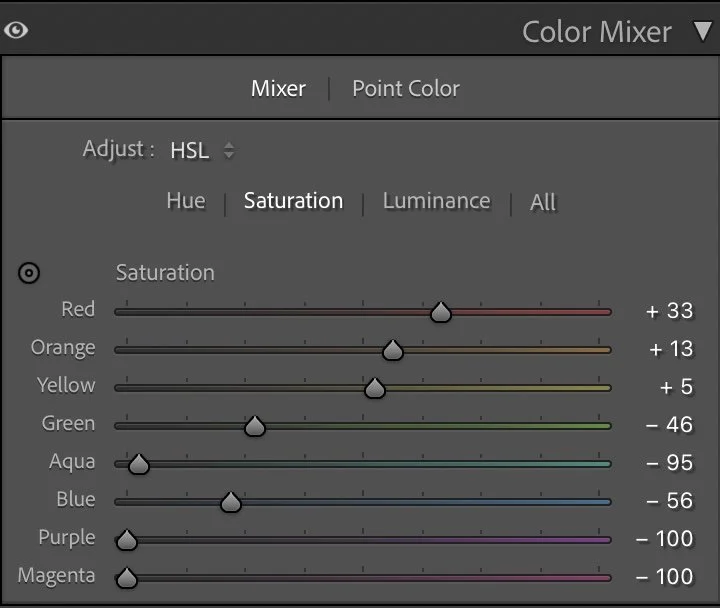
In Saturation, warmer tones were selectively enhanced:
Red (+33) and Orange (+13) bring life to fruit and desserts without becoming loud.
Yellow (+5) stays restrained to avoid a yellow cast in the stone surface.
Cooler tones were strongly reduced:
Green (–46), Aqua (–95), and Blue (–56) were pulled down to remove distractions and keep the palette grounded.
Purple and Magenta were fully desaturated (–100) to eliminate unwanted color noise in shadows.
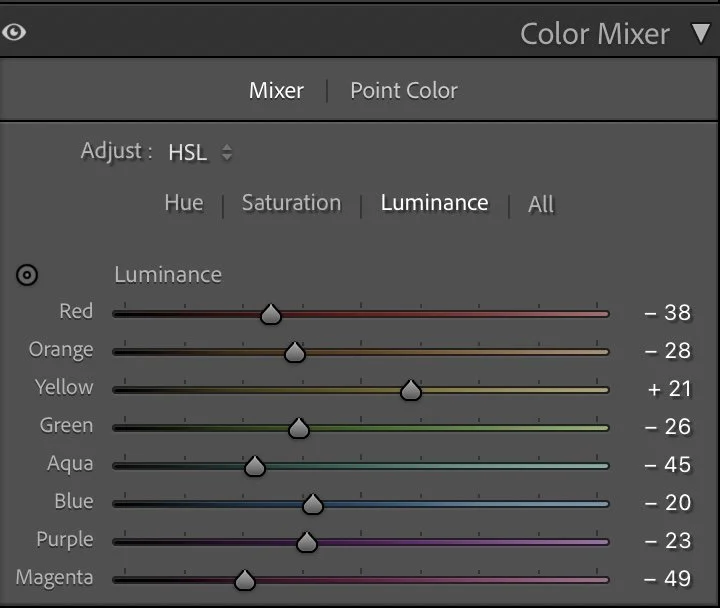
For Luminance, warm tones were slightly darkened (Red –38, Orange –28) to add richness, while Yellow (+21) was lifted to maintain balance. Cooler tones were consistently darkened to keep them from competing with the warmth of the scene.
This combination creates a controlled, intimate palette — warm without being nostalgic, clean without feeling sterile.
Color Grading – Emotional balance
Color grading was kept subtle and supportive.
The Shadows (Hue 45 / Sat 5) introduce a gentle warmth that reinforces the hospitality feel of the space.
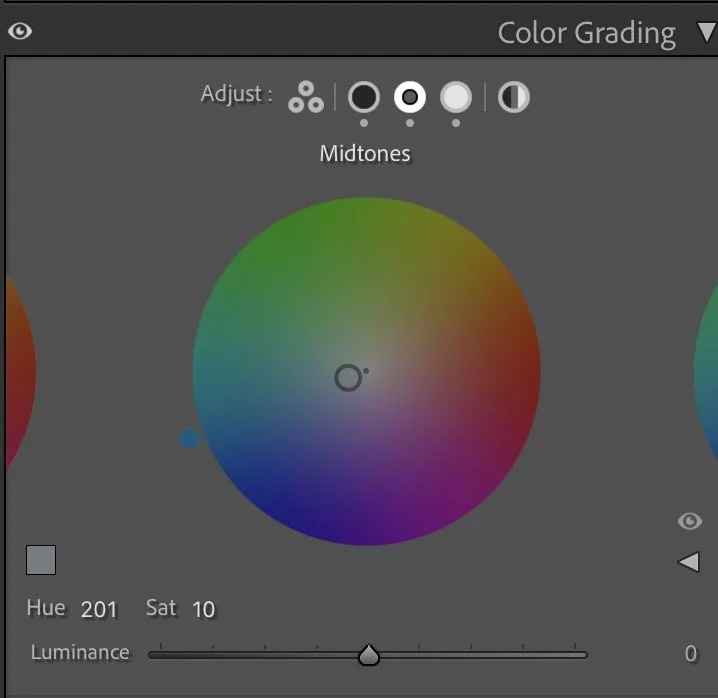
The Midtones (Hue 201 / Sat 10) add a slight cool counterbalance, preventing the image from drifting too far into orange tones.
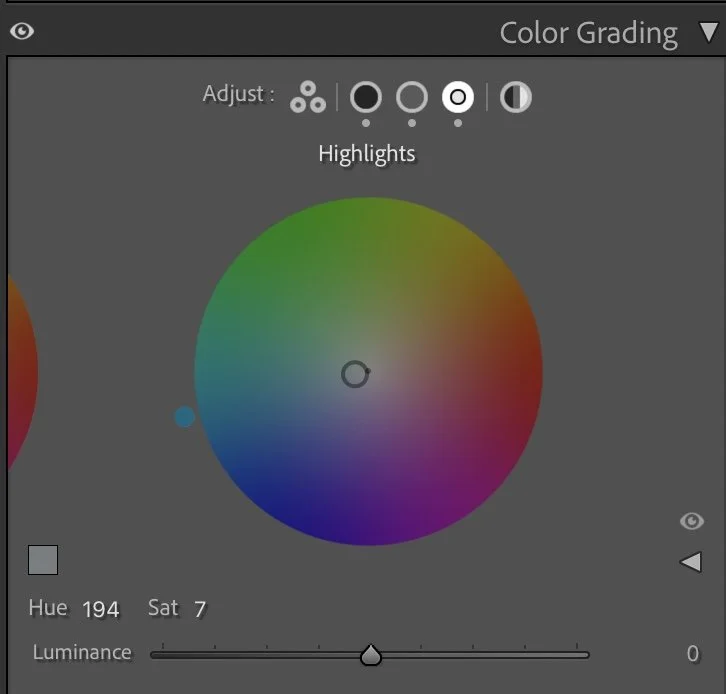
The Highlights (Hue 194 / Sat 7) stay restrained, keeping reflective surfaces calm and natural.
Together, these adjustments create a balanced indoor atmosphere — warm, quiet, and composed.

Final thoughts
This image isn’t about food photography or interior design. It’s about care.
Care in preparation, in light, in restraint.
By reducing contrast, muting dominant colors, and softening textures, the image becomes less about objects and more about feeling. It invites the viewer in without asking for attention.
This is the kind of edit that doesn’t want to impress — it wants to stay. And sometimes, that’s exactly what a photograph needs. Further Before and After Articles can be found here.
Creating a calmer and more natural color balance
In the earlier version of this image, I focused mainly on making the colors appear vibrant and bright. The fruits, cakes, and textures on the table became more saturated, which made the image feel lively and visually rich.
However, over time I realized that stronger colors can sometimes overpower the natural atmosphere of a scene.
In the current version, I slightly reduced the overall brightness and allowed the darker tones of the table and the background to remain deeper. This helps guide the viewer’s attention more clearly toward the central subject.
The colors are also a bit more restrained, which creates a calmer and more refined look. Instead of emphasizing every element equally, the edit now allows the composition and the natural light to define the mood of the image.
For me, this interpretation feels more balanced and closer to the real atmosphere of the moment.
Develop your own lightroom editing style
If you want to build your personal Lightroom workflow step by step — not based on presets, but on a conscious understanding of light, color and mood — you might enjoy my course.
In the course I explain how photographers can develop their own editing approach and gradually build a consistent visual style.
At first, starting a Lightroom edit in black and white may seem counterintuitive. After all, most of us care deeply about color. Yet removing color for a moment can reveal something more important: the light, balance and structure that hold an image together. In this article, I explain why I still begin many edits in black and white and how this simple approach changed both my editing workflow and the way I photograph.