Lightroom · Style Development
First black and white. Then colour.
Your editing style is not about making every photograph look the same. It develops when you understand how light, contrast, colour and atmosphere work together.
01 · What style really means
Do not make every image look the same. Learn to recognise your decisions.
Your style is not a fixed filter. It shows in what you notice, which atmosphere you want to keep and which decisions you repeat with intention.
Light
Where should the viewer look – and which areas can stay quiet?
Contrast
Should the image feel soft and calm, or clear and powerful?
Colour
Which colours support the atmosphere – and which ones distract from it?
Atmosphere
Which feeling from the original moment should remain in the final image?
02 · If you are just getting started
Start where your own style really begins.
These three articles guide you from basic perception to a complete Lightroom edit.
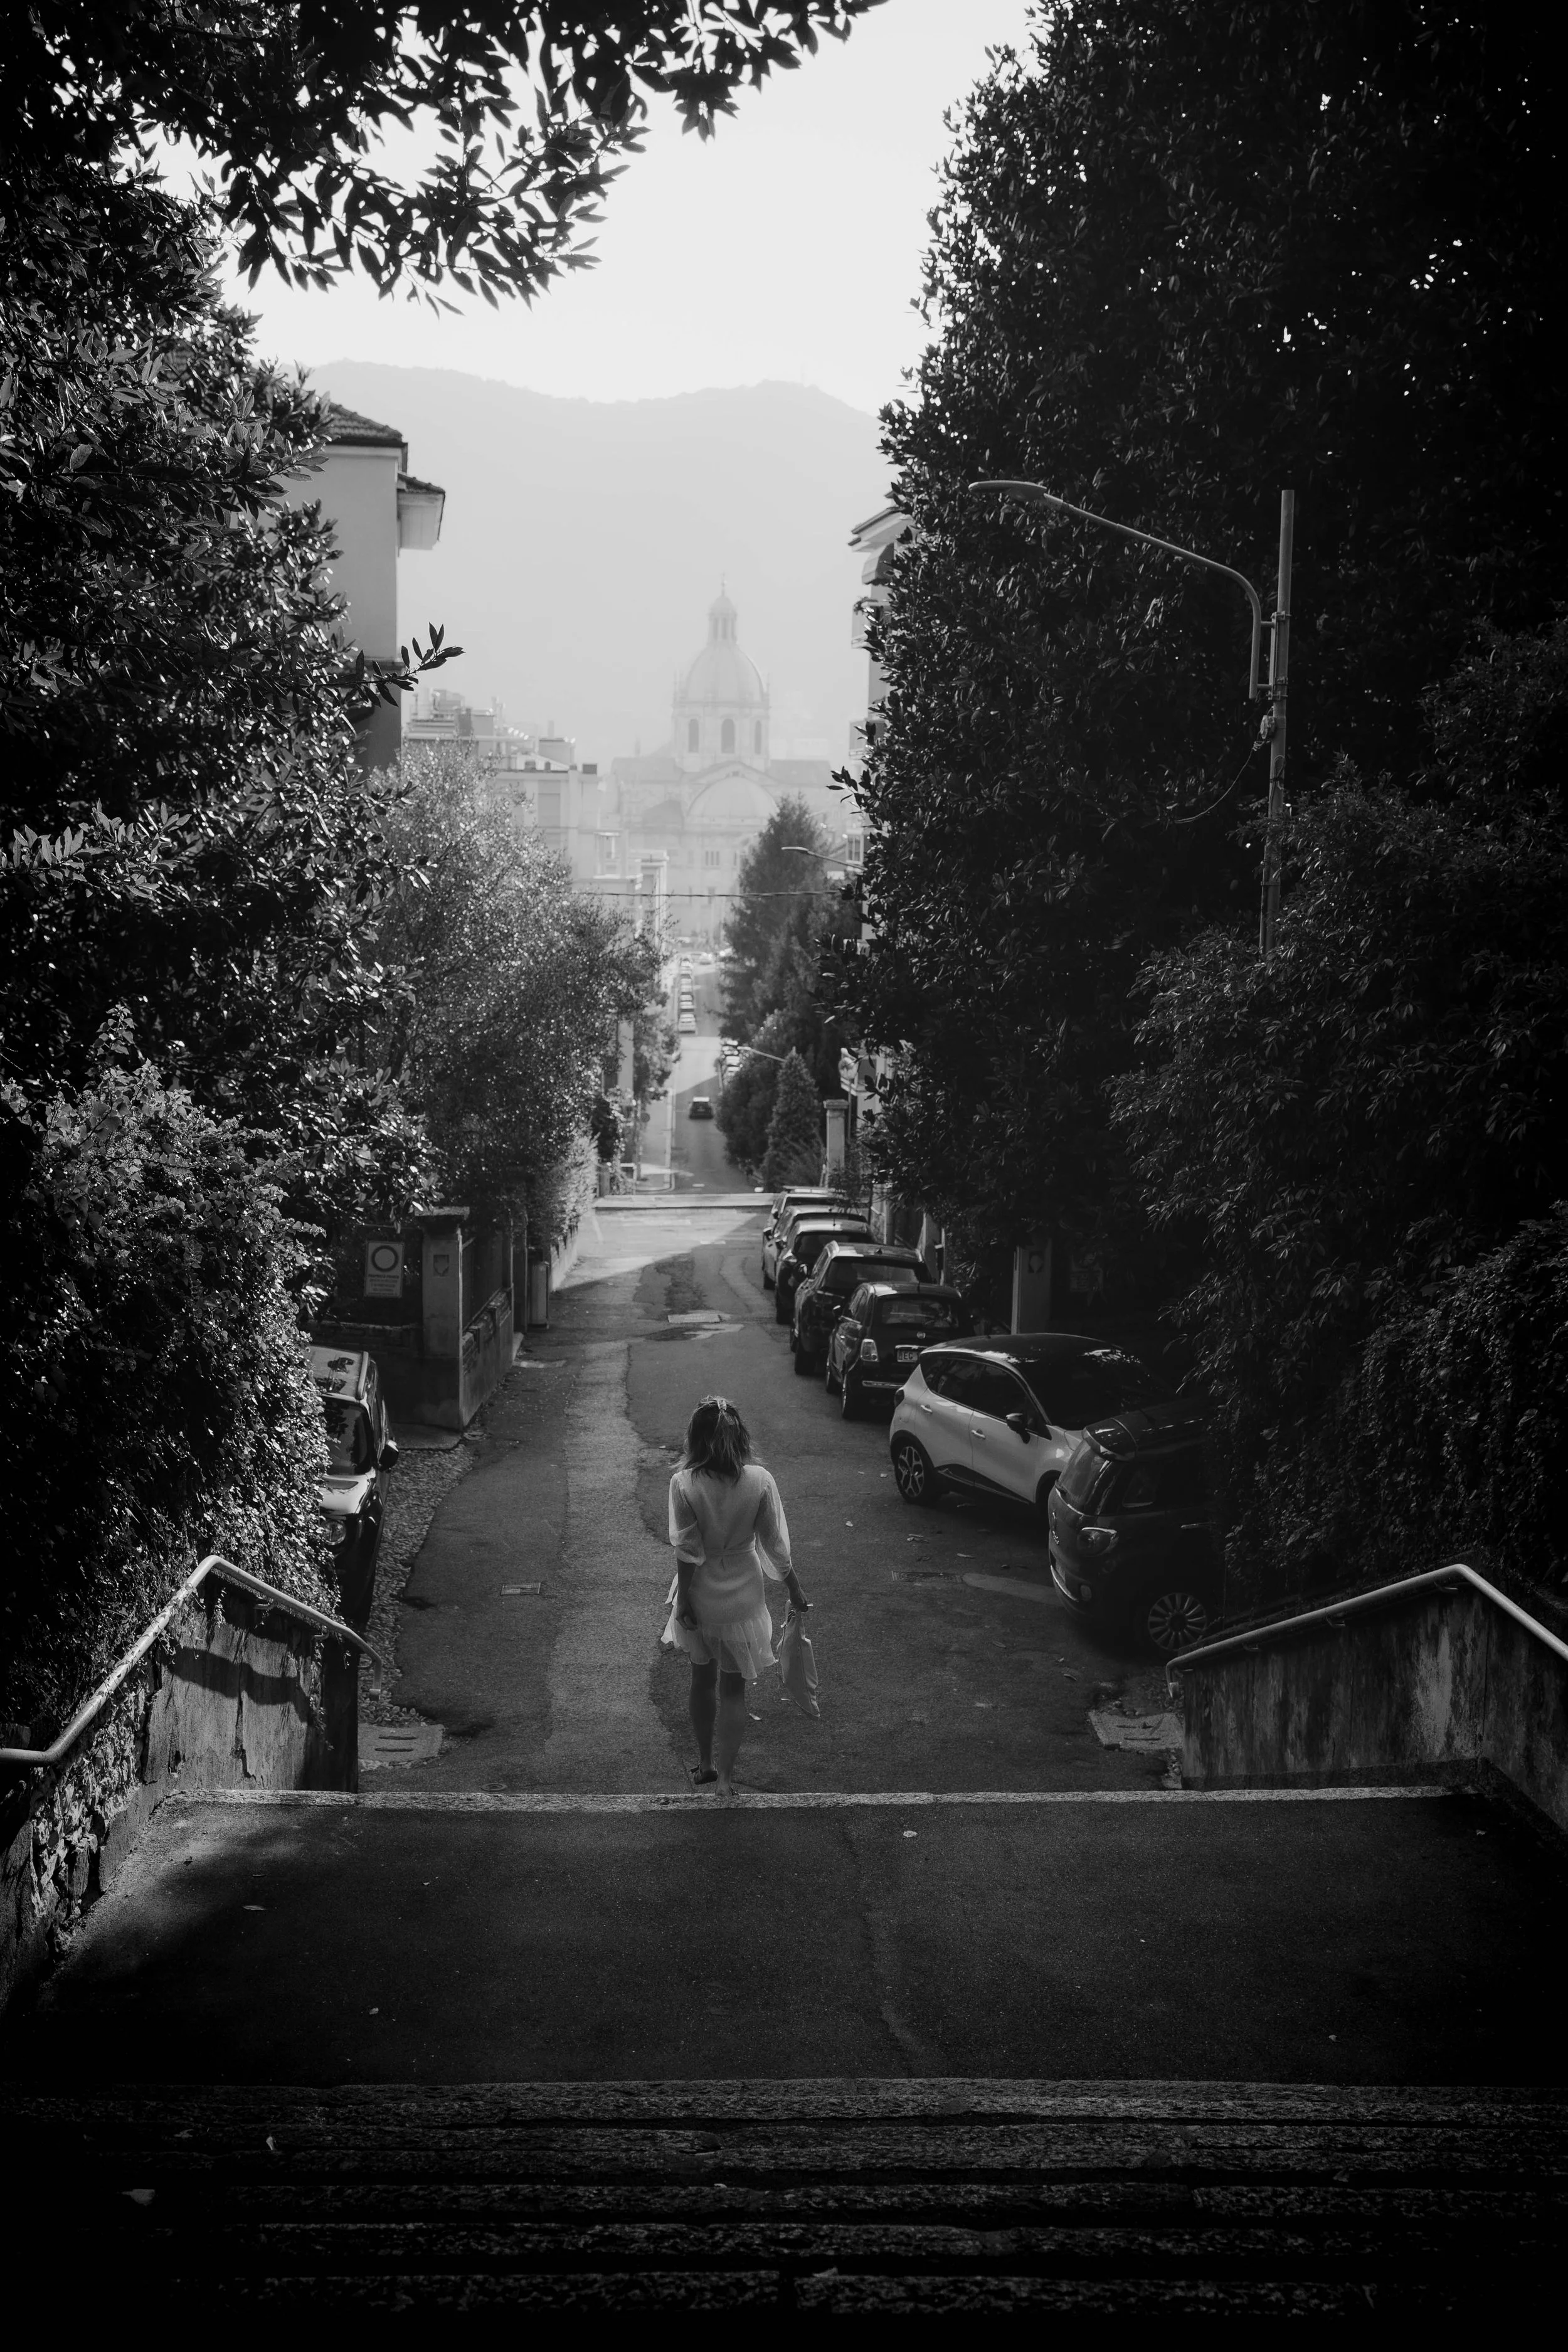
Foundation
Why I needed to develop my own editing style
The turning point came when I stopped thinking about colour first.
Read article →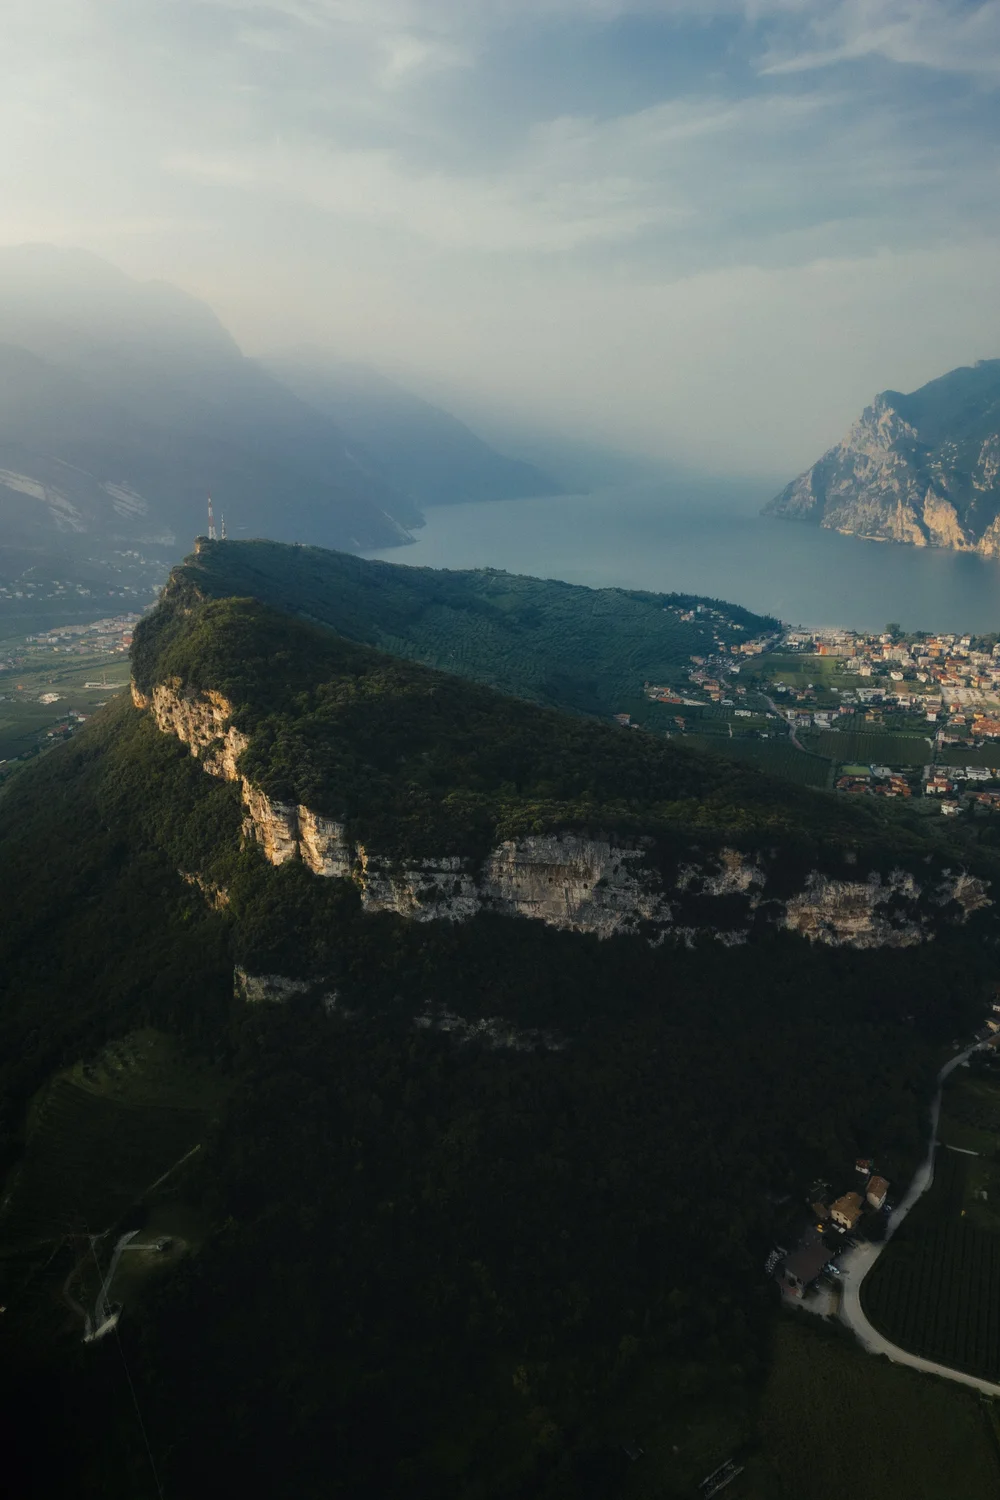
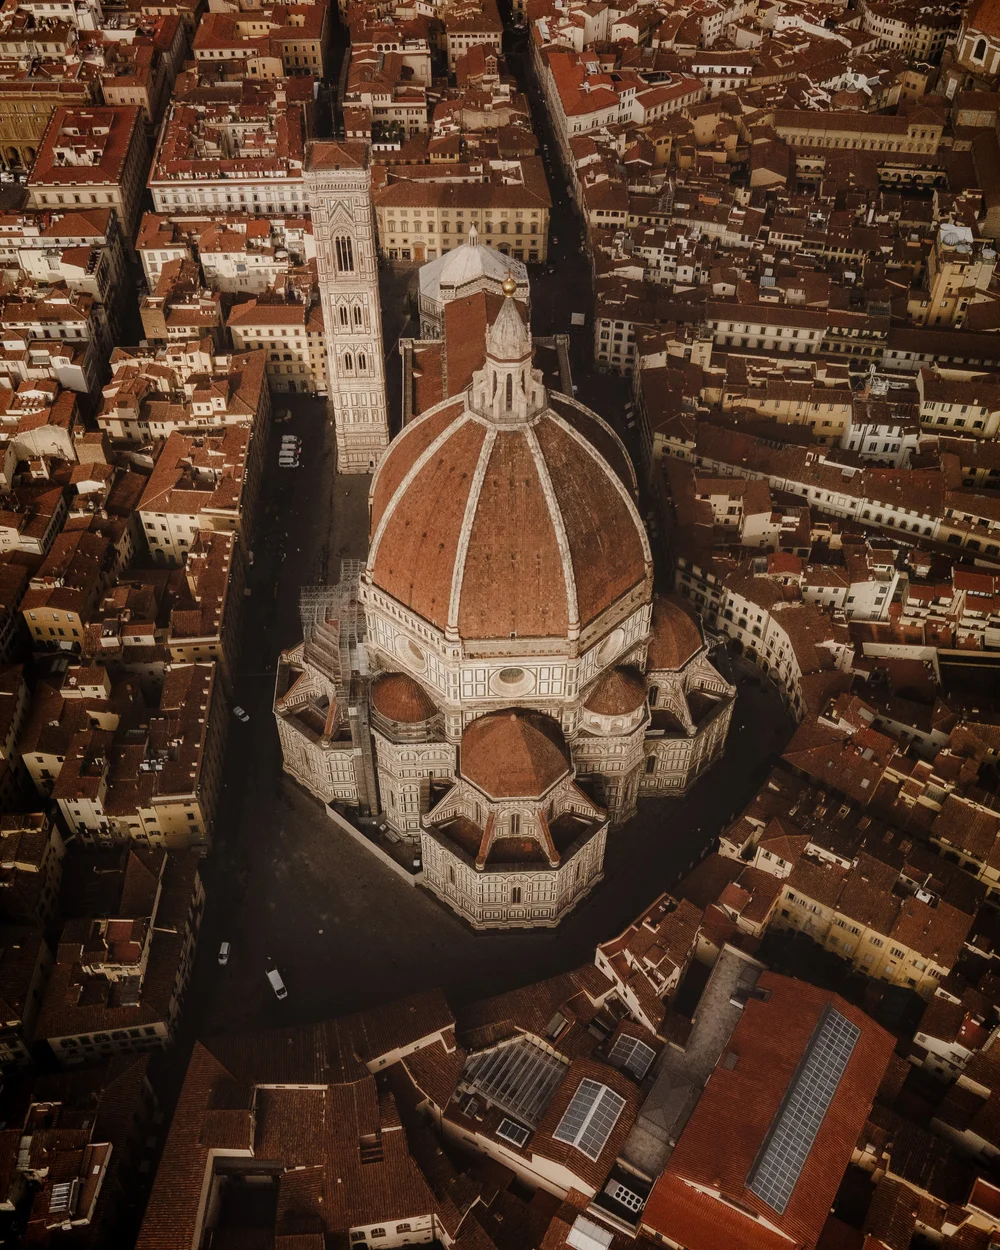
Perception
How to develop your own editing style
A consistent style does not begin with sliders. It begins with the way you see.
Read article →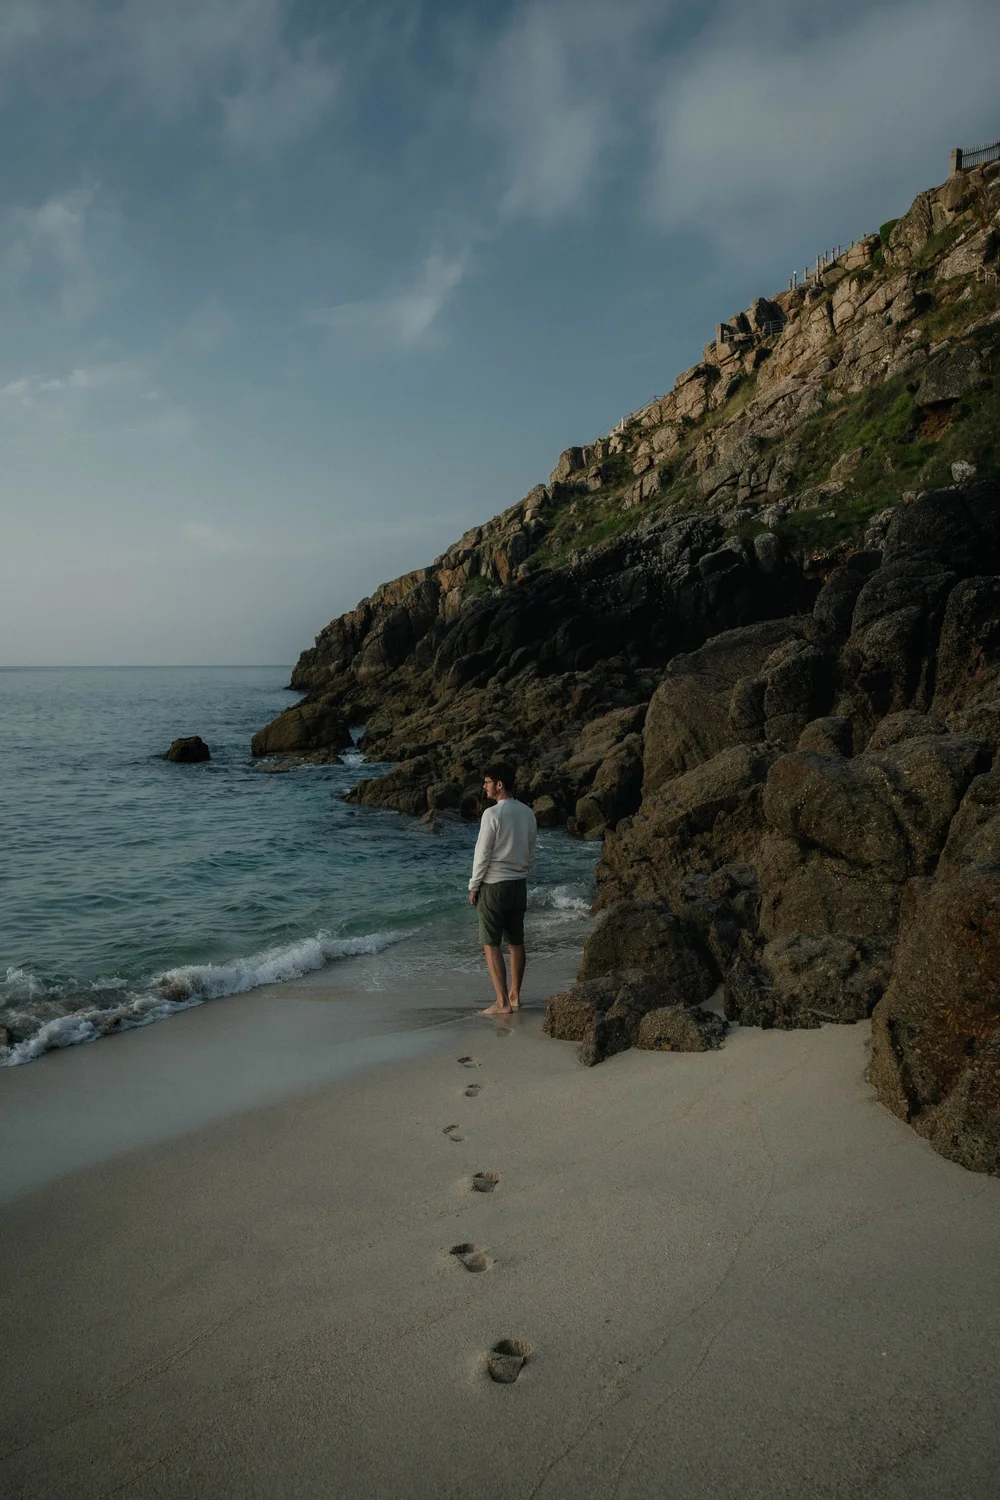
Practice
A Lightroom edit in practice
From a flat RAW file to the finished image – step by step.
Read article →03 · When your style changes
Developing a style is not a finished state. It changes with you.
If your images feel different today than they did a year ago, you have not lost your style. You may simply see light, colour and your own priorities differently.
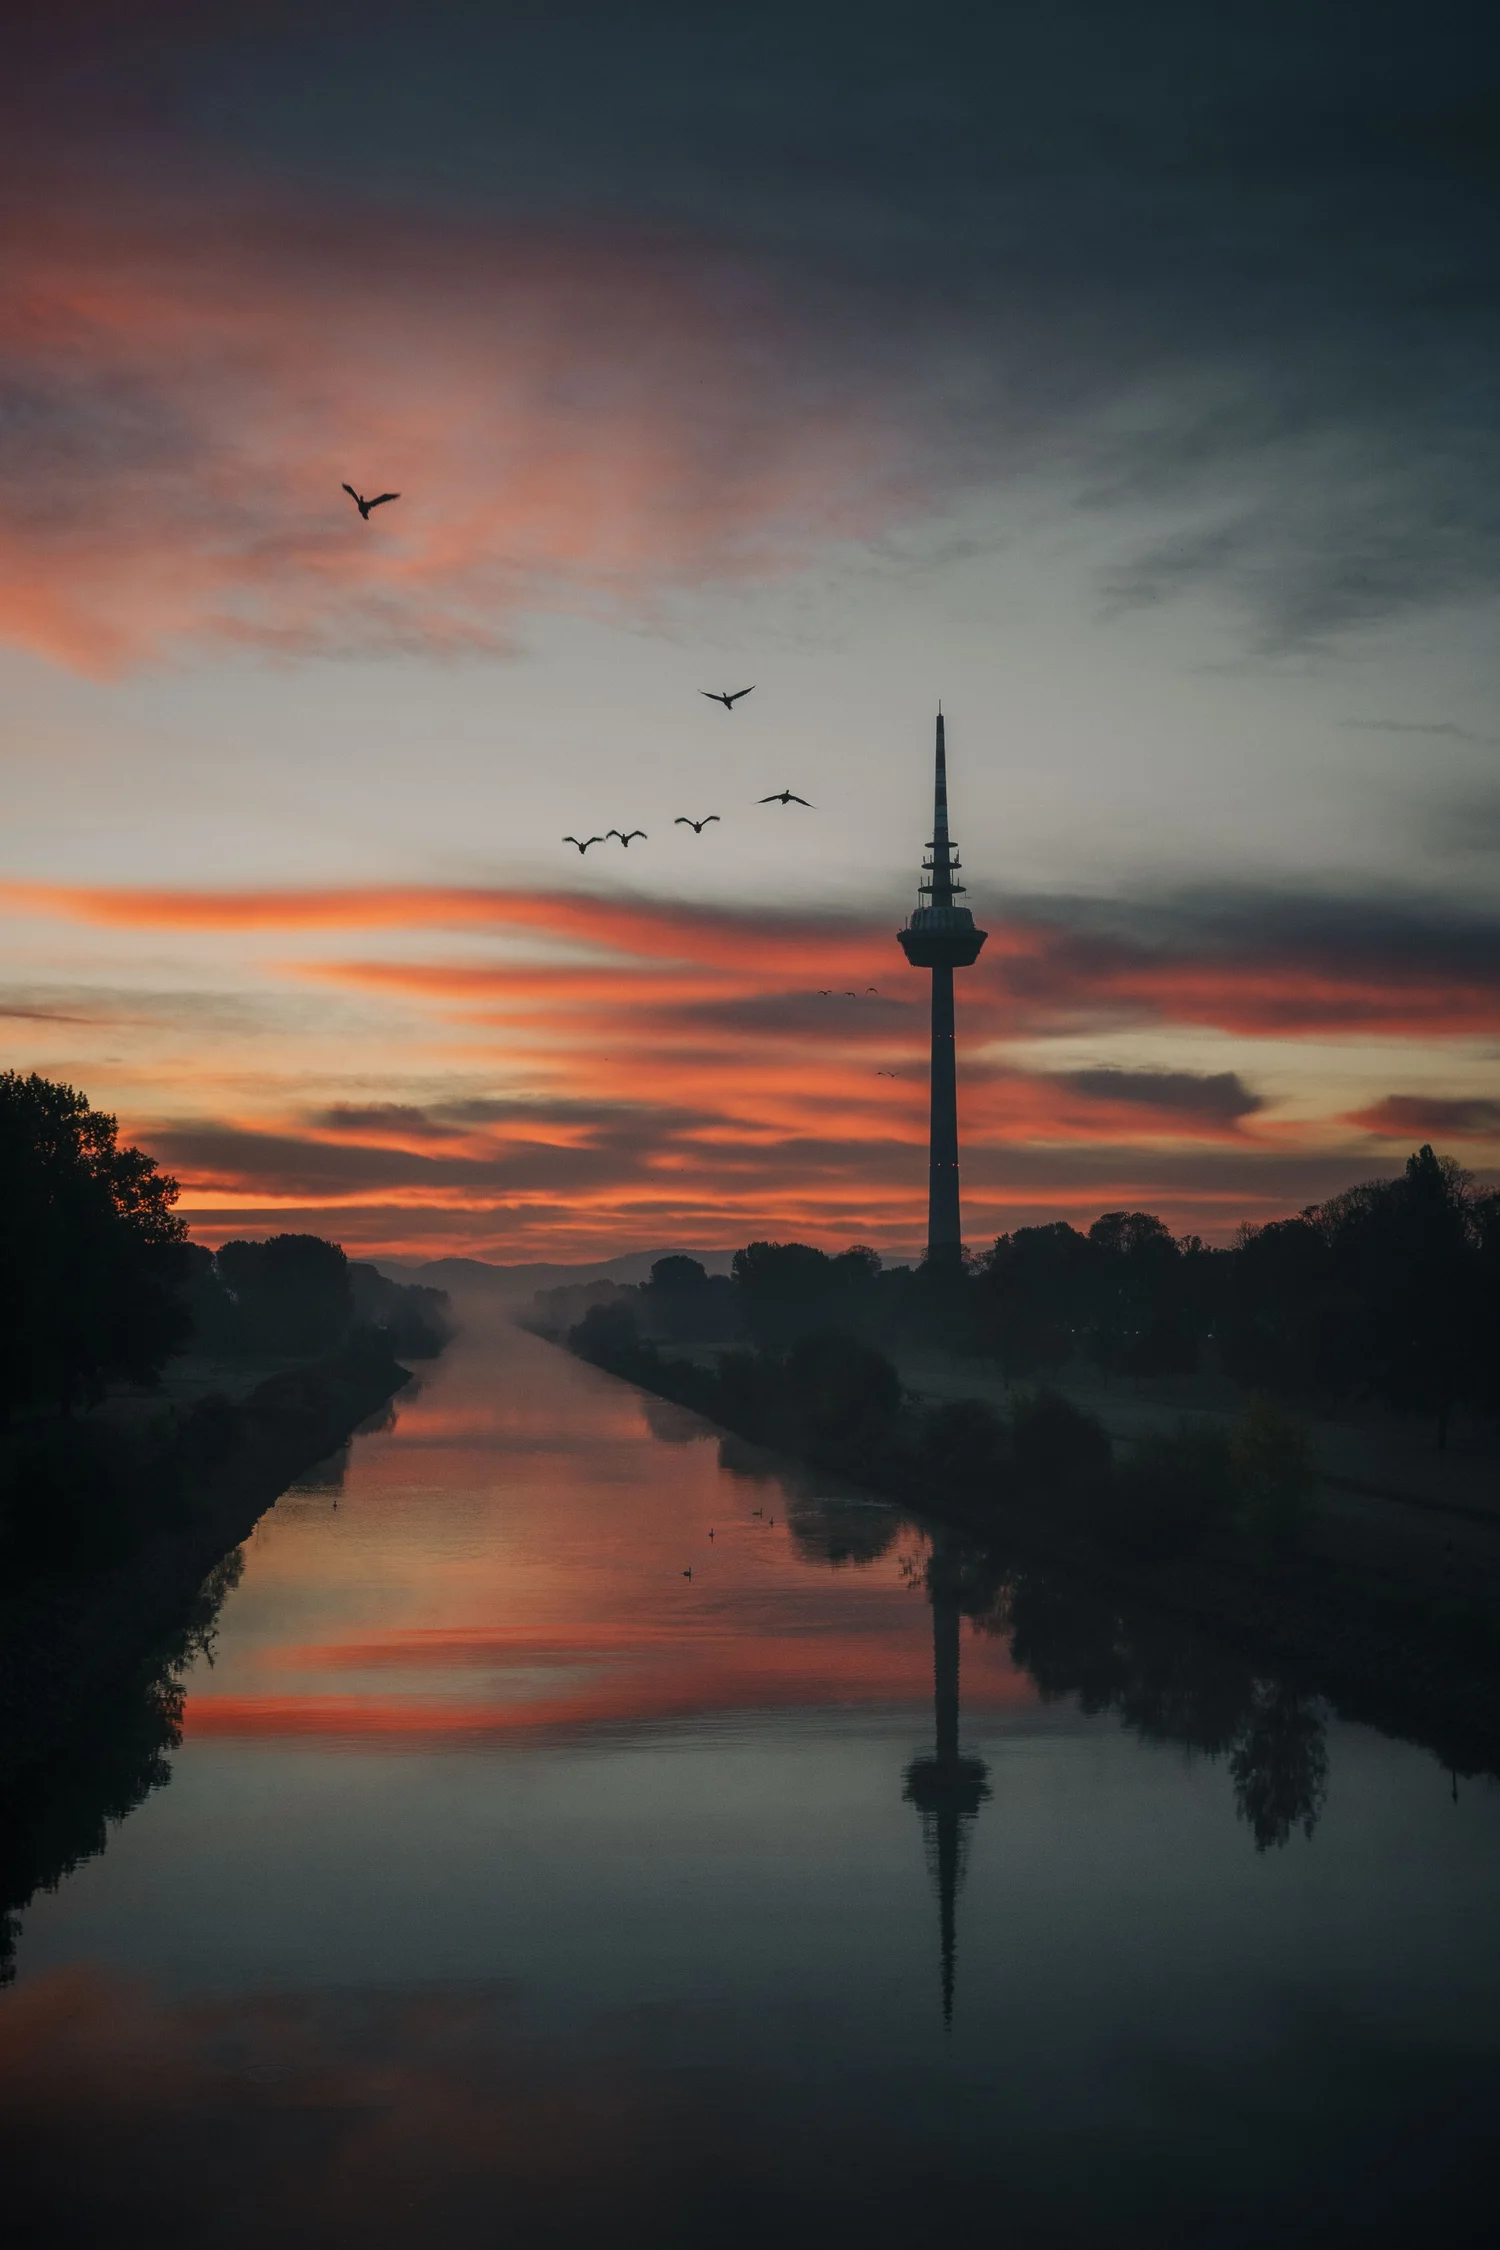
Change
When your editing style changes
Why consistency does not mean forcing every image into the same look.
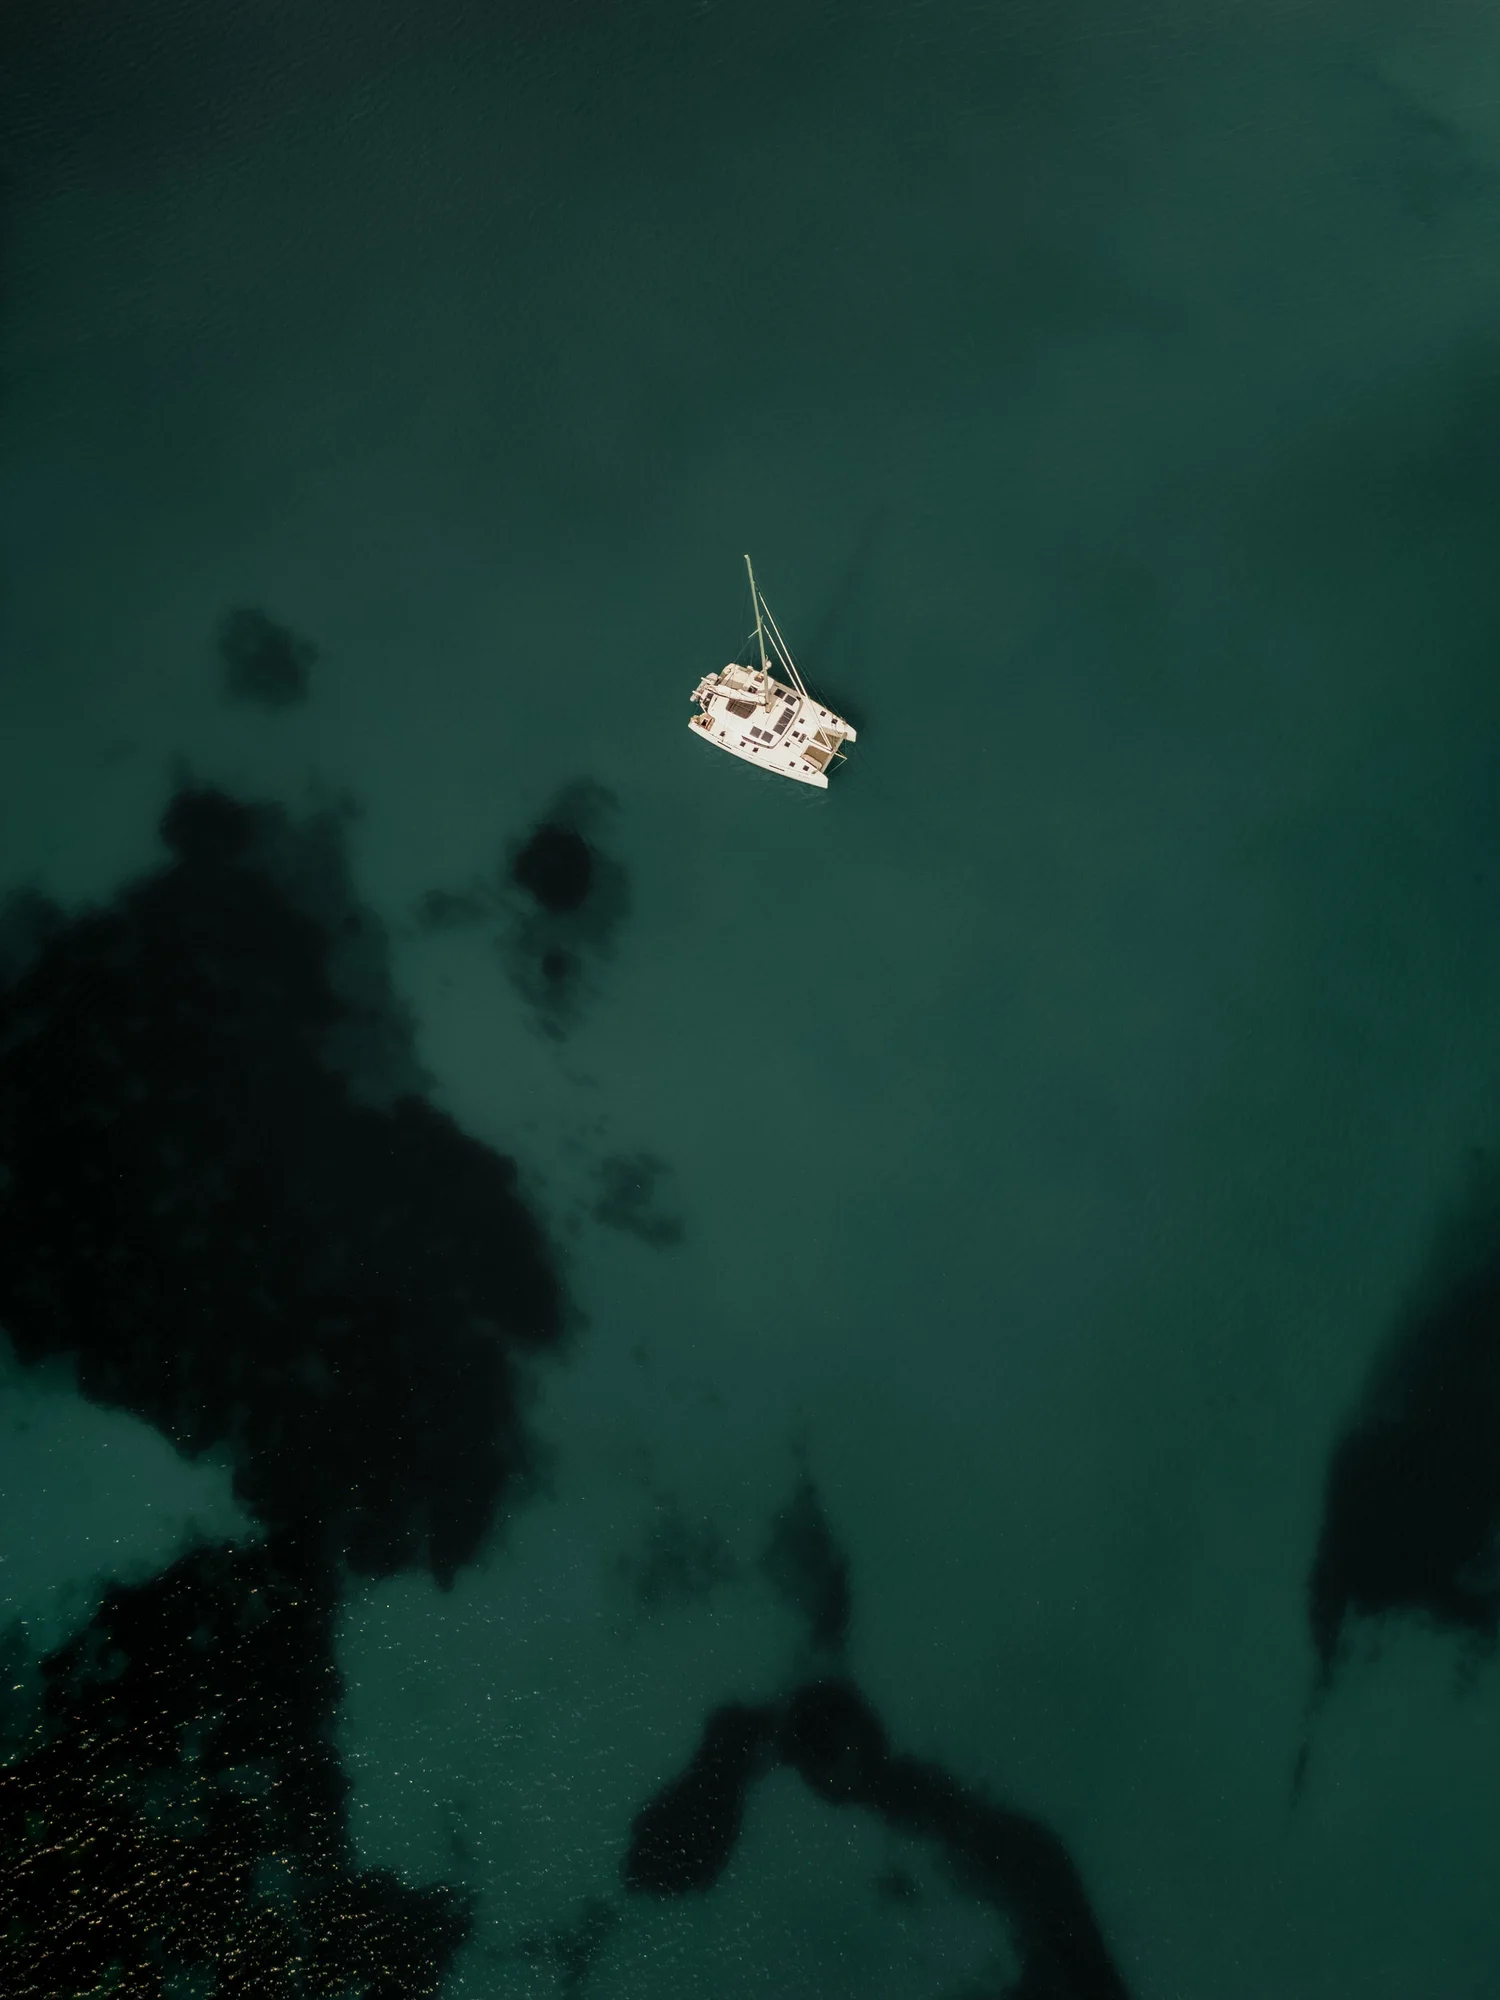
Independence
Why your editing style matters more than any preset
Recognition comes more from the way you see than from using identical colours.
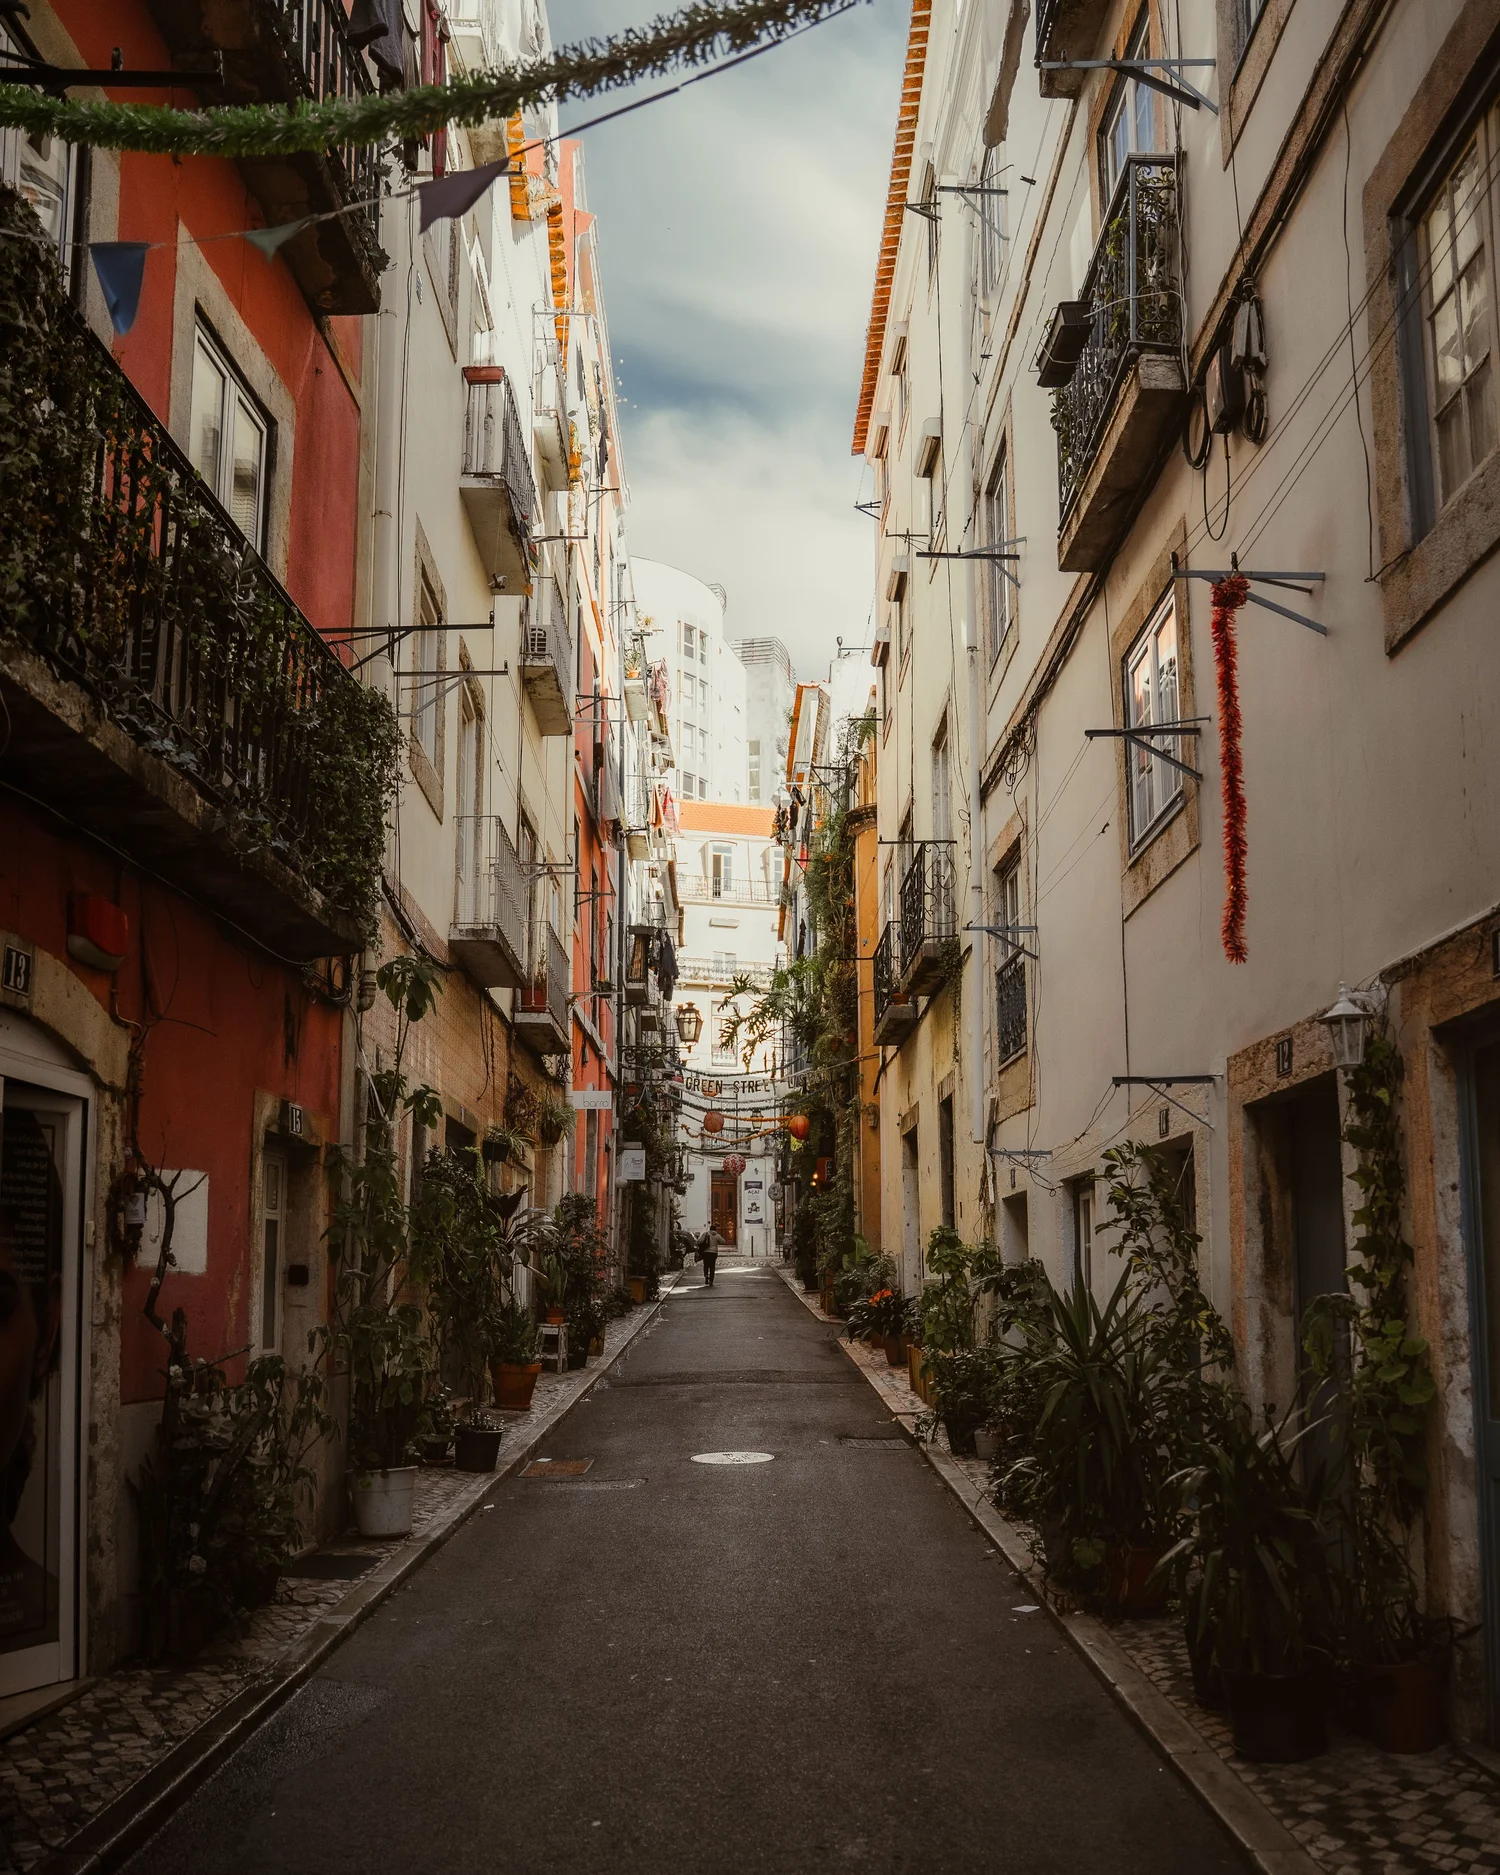
Reflection
AI as a tool for style development
AI cannot make creative decisions for you – but it can make recurring patterns visible.
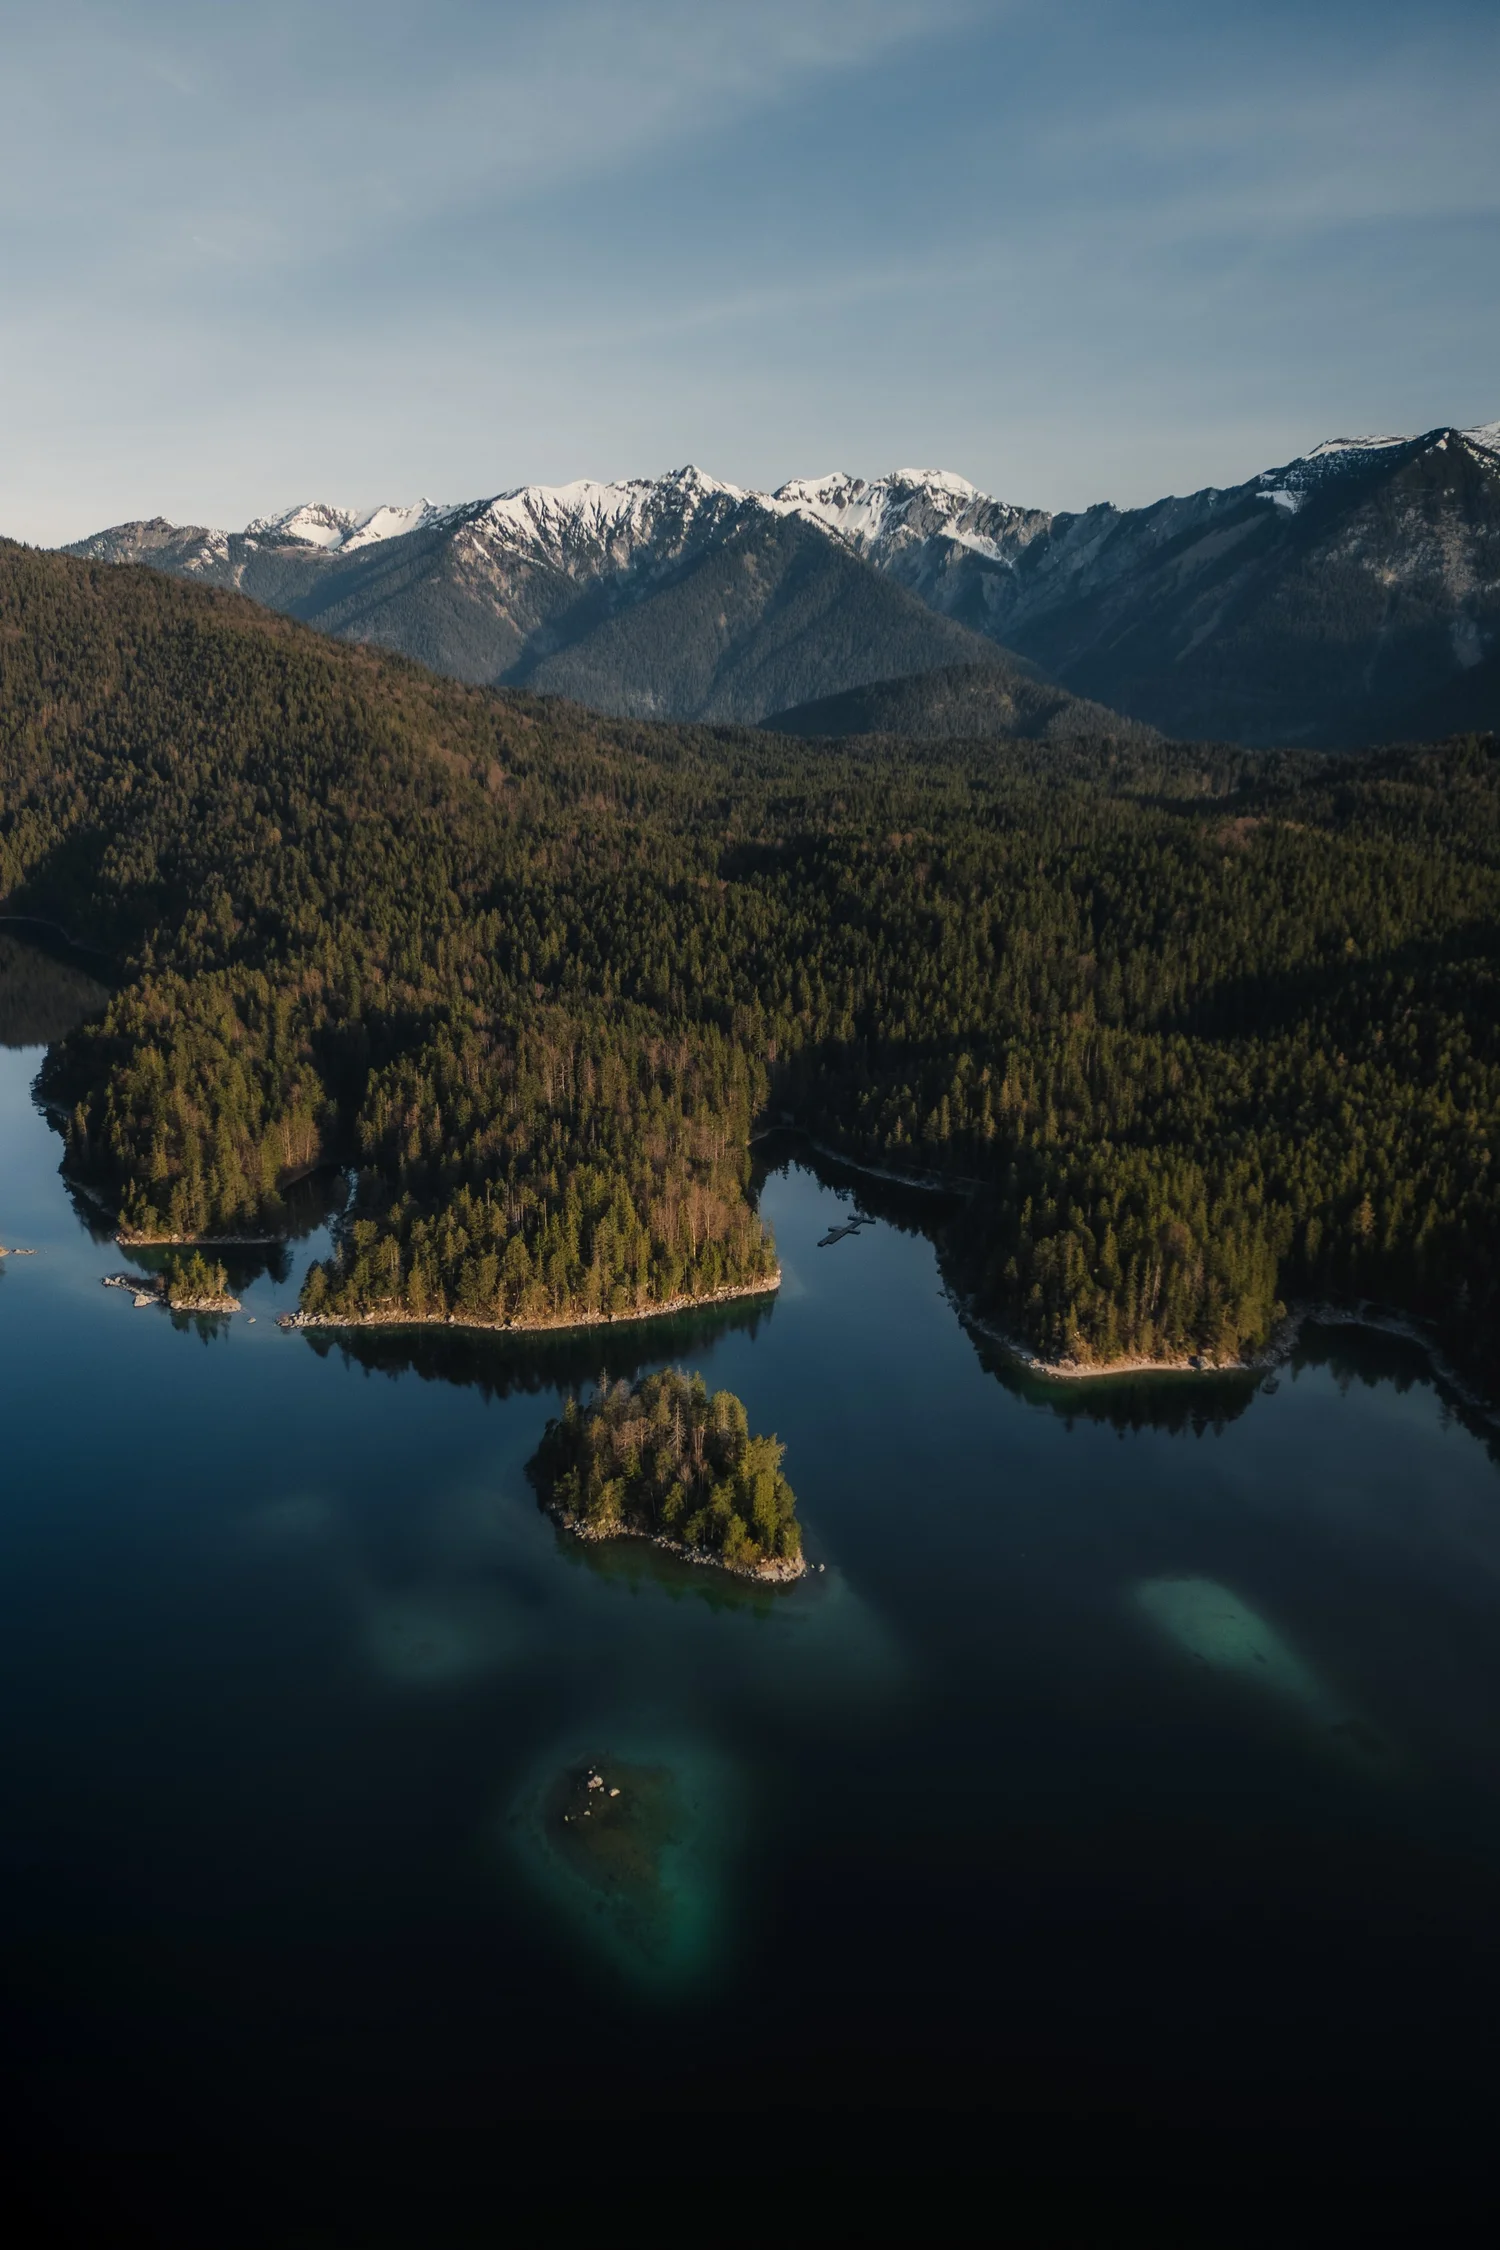
Direction
Learn Lightroom – or develop your own style?
A clear comparison of different course approaches if you are still unsure.
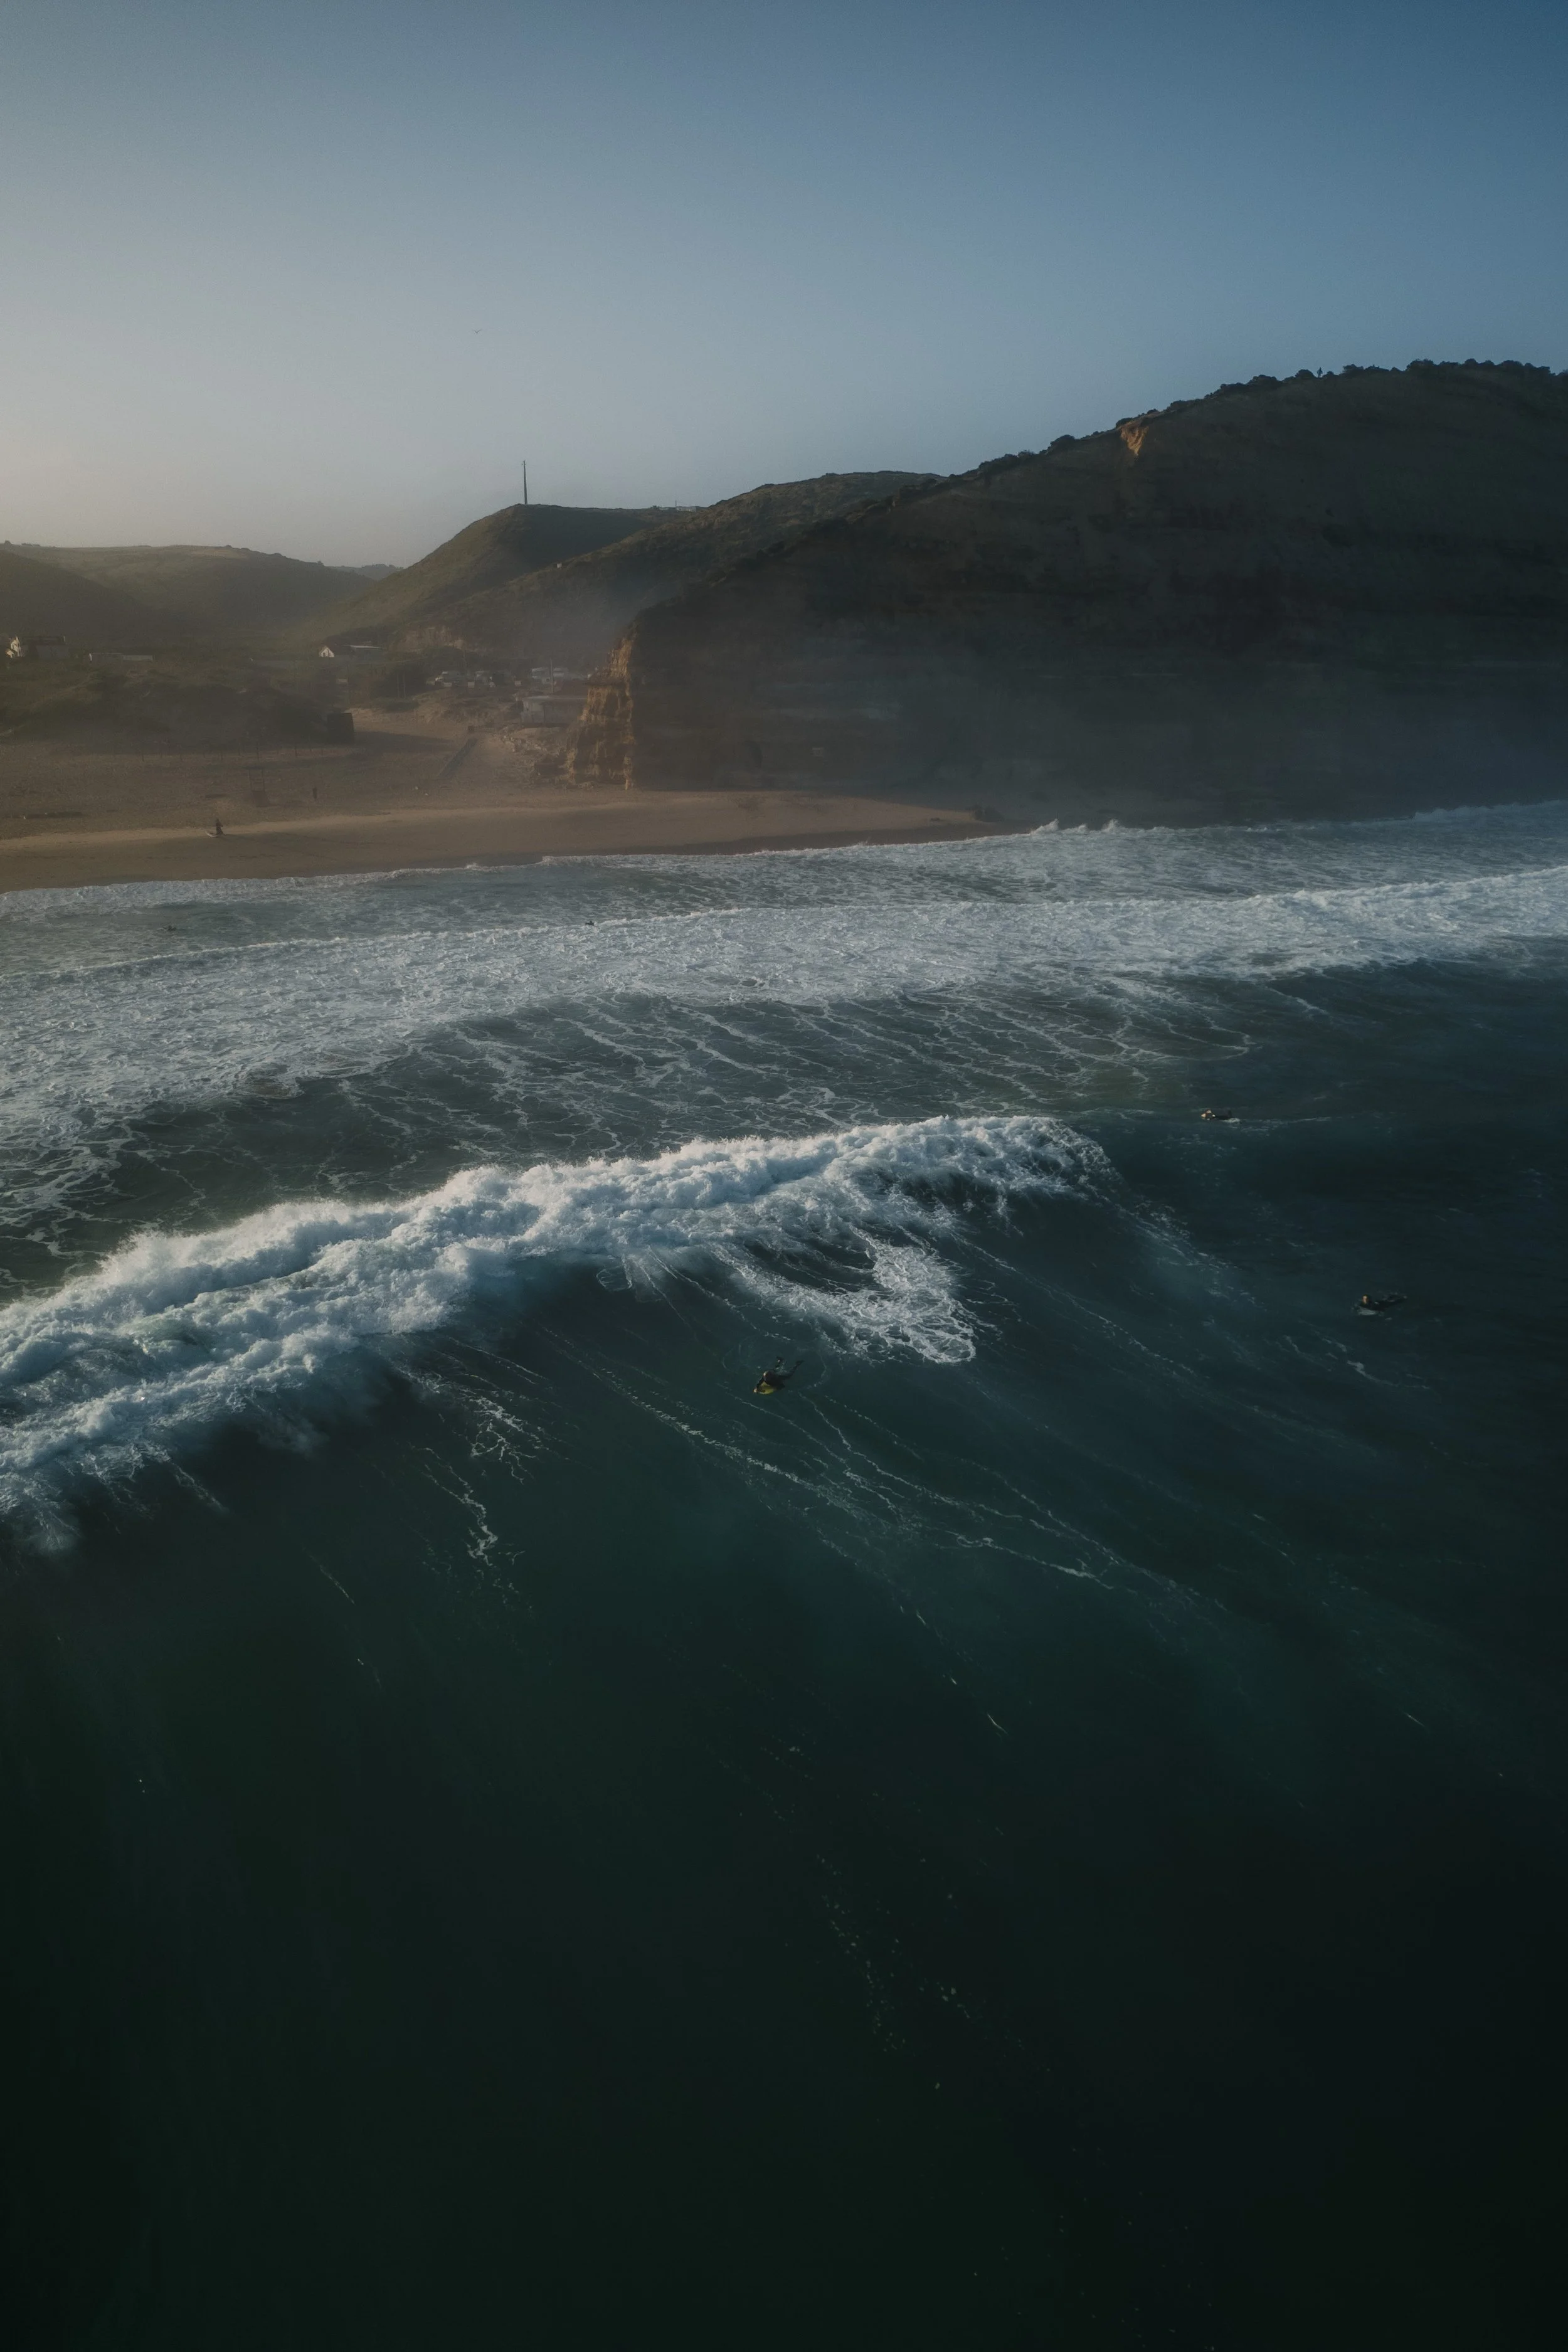
04 · Free · about 1 minute
Analyse your editing style.
Upload one of your images or answer five short questions. You receive a short personal overview of the patterns that shape your current style.
- Upload an image or answer five questions
- Receive a short personal overview
- See a useful next step
05 · In practice
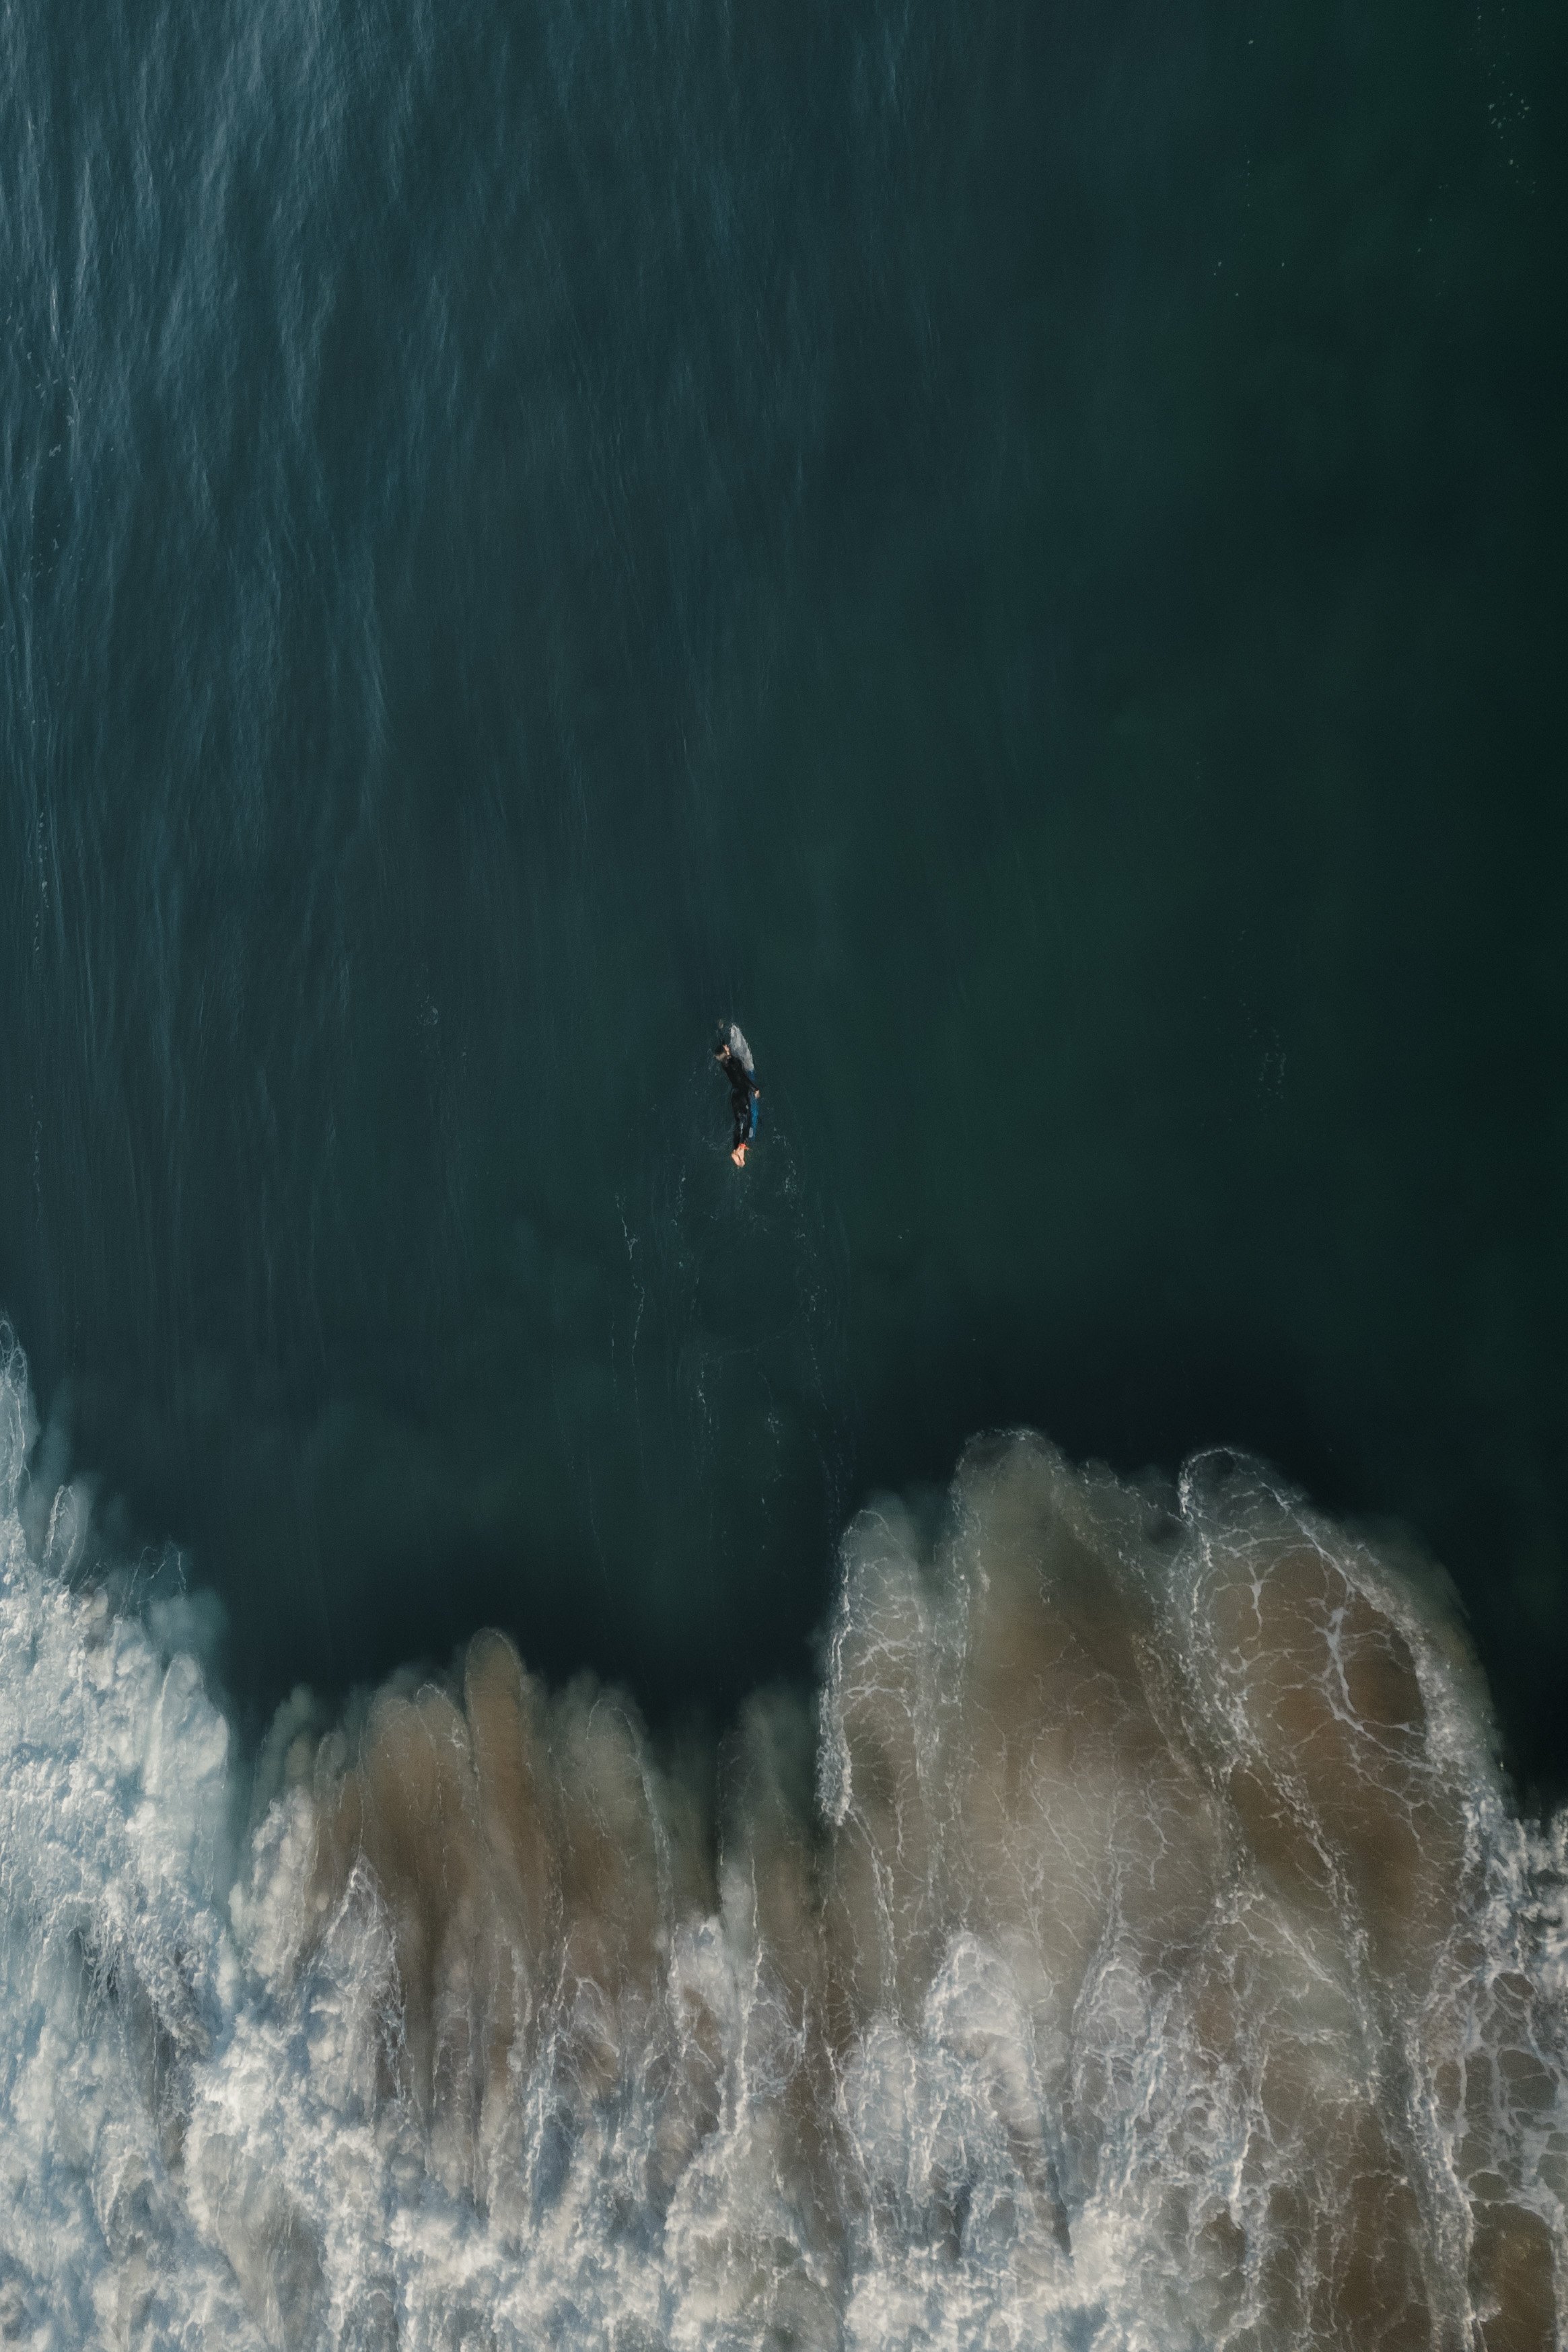
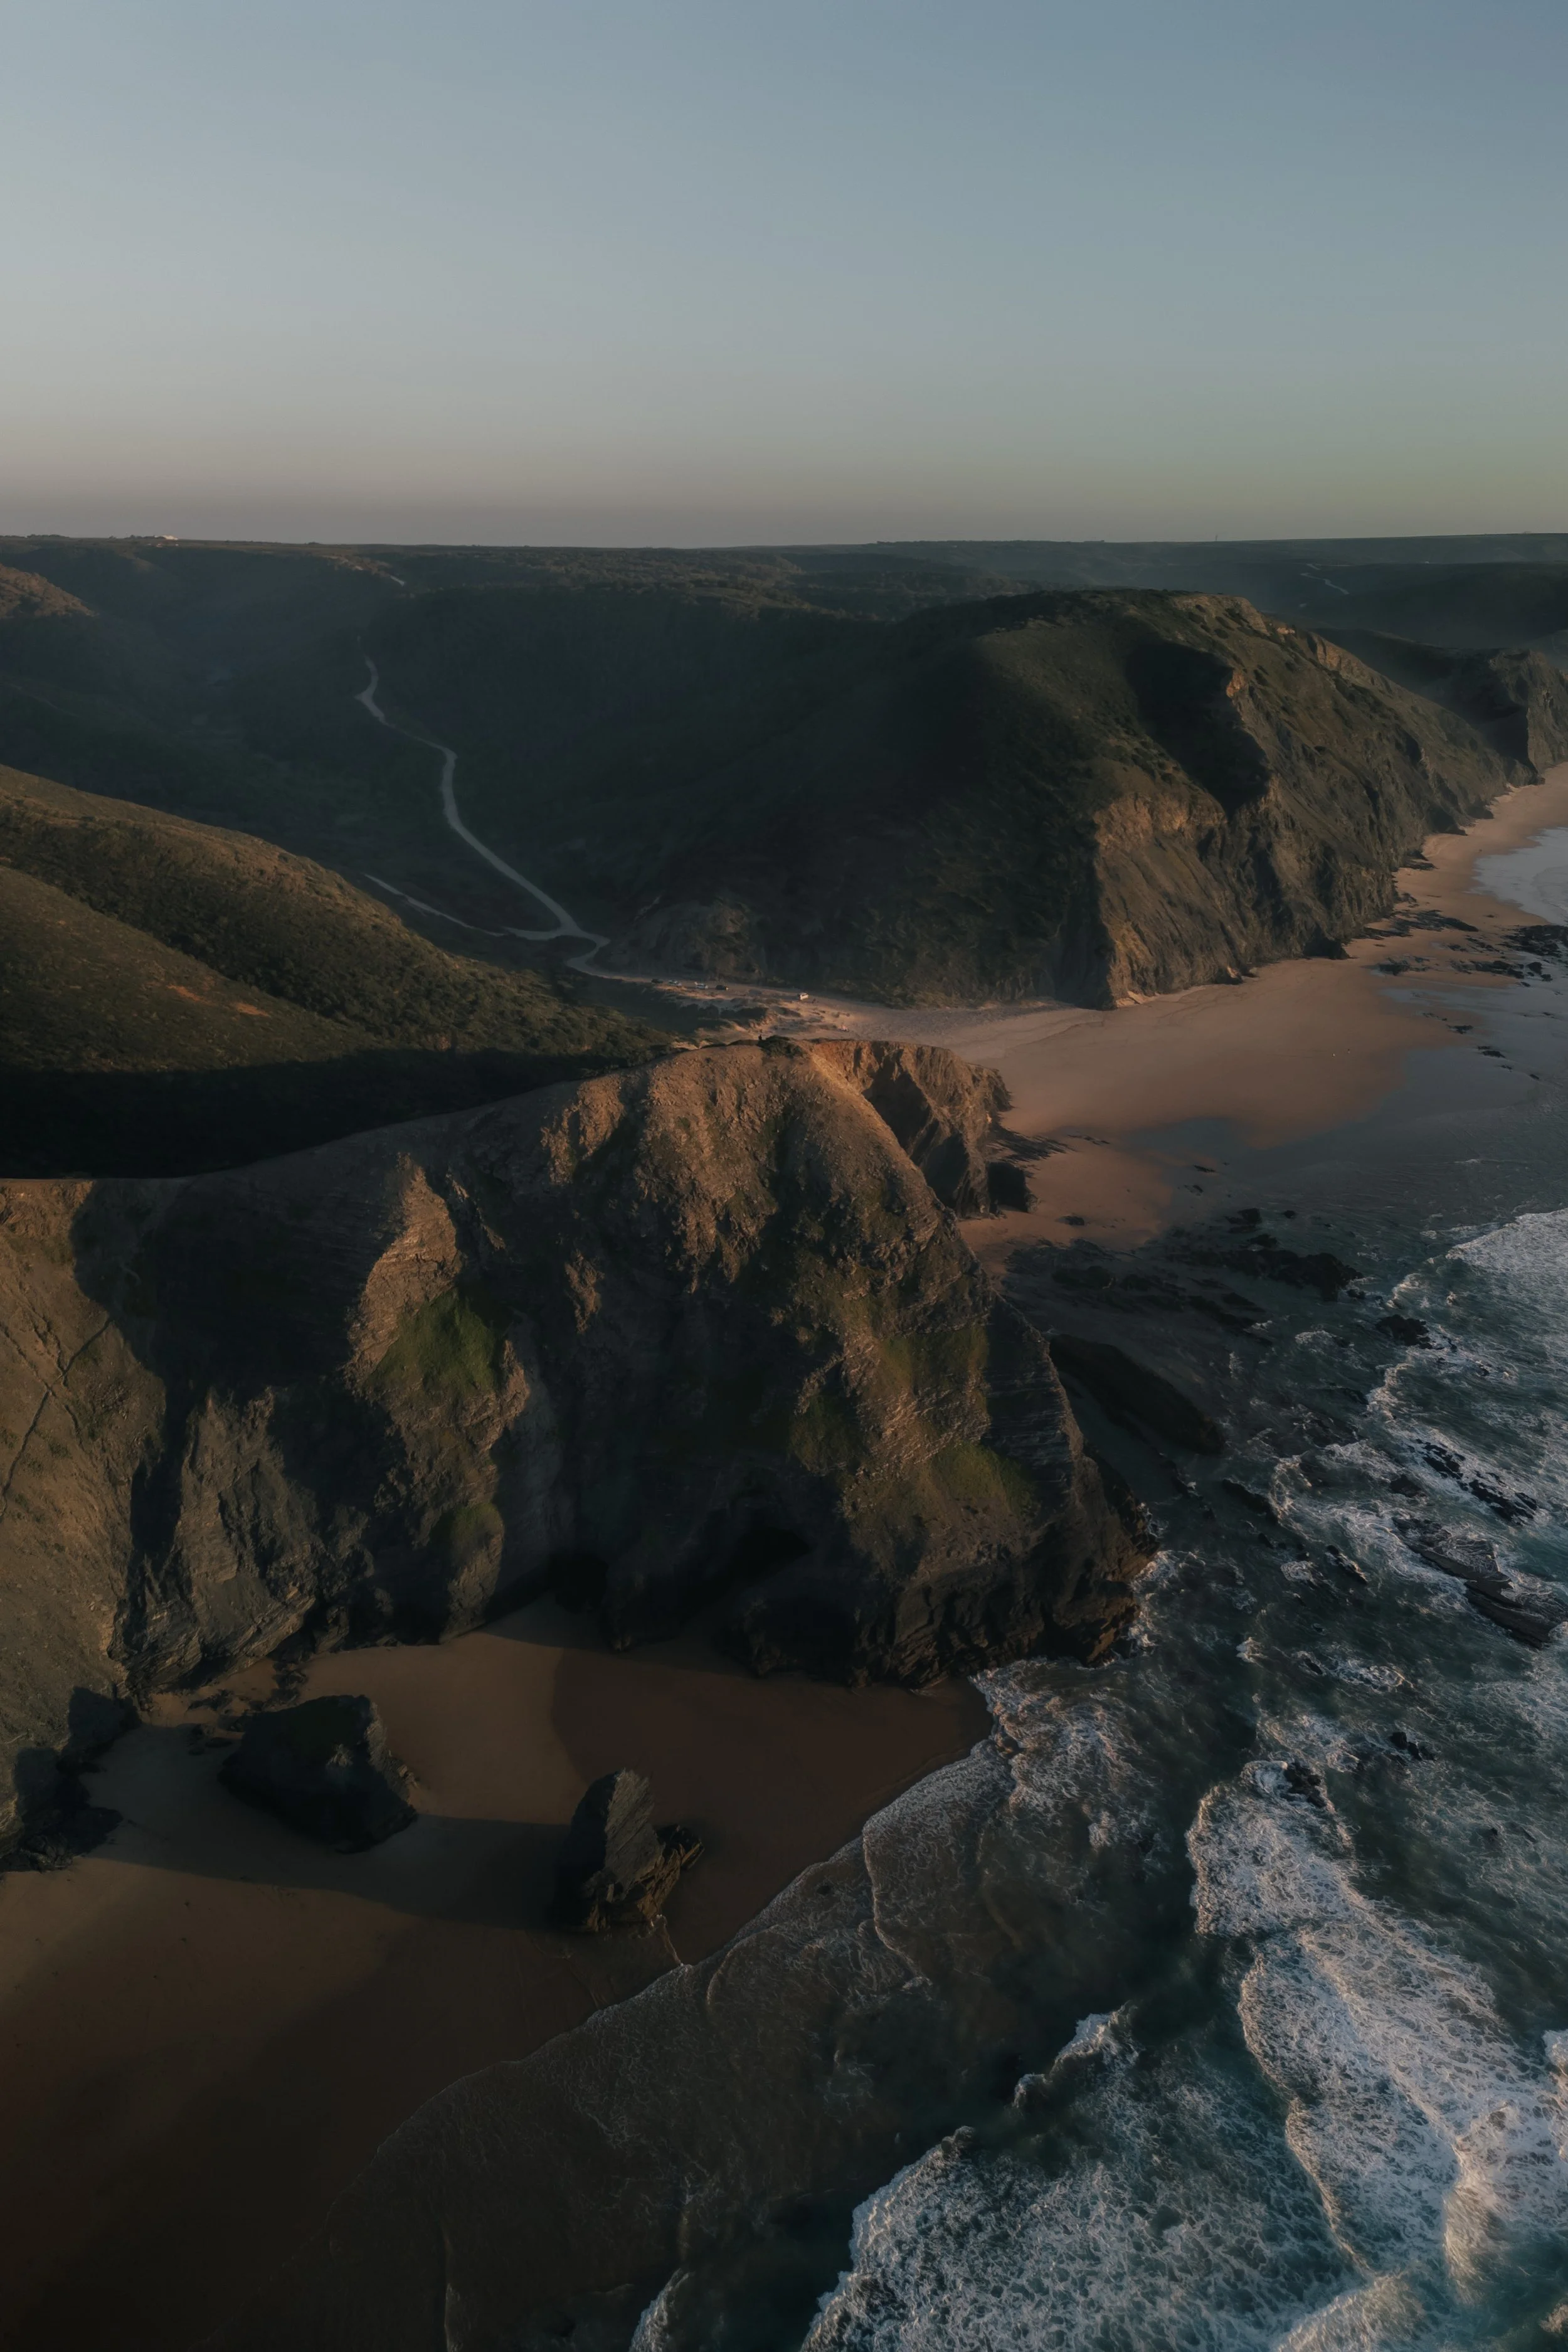
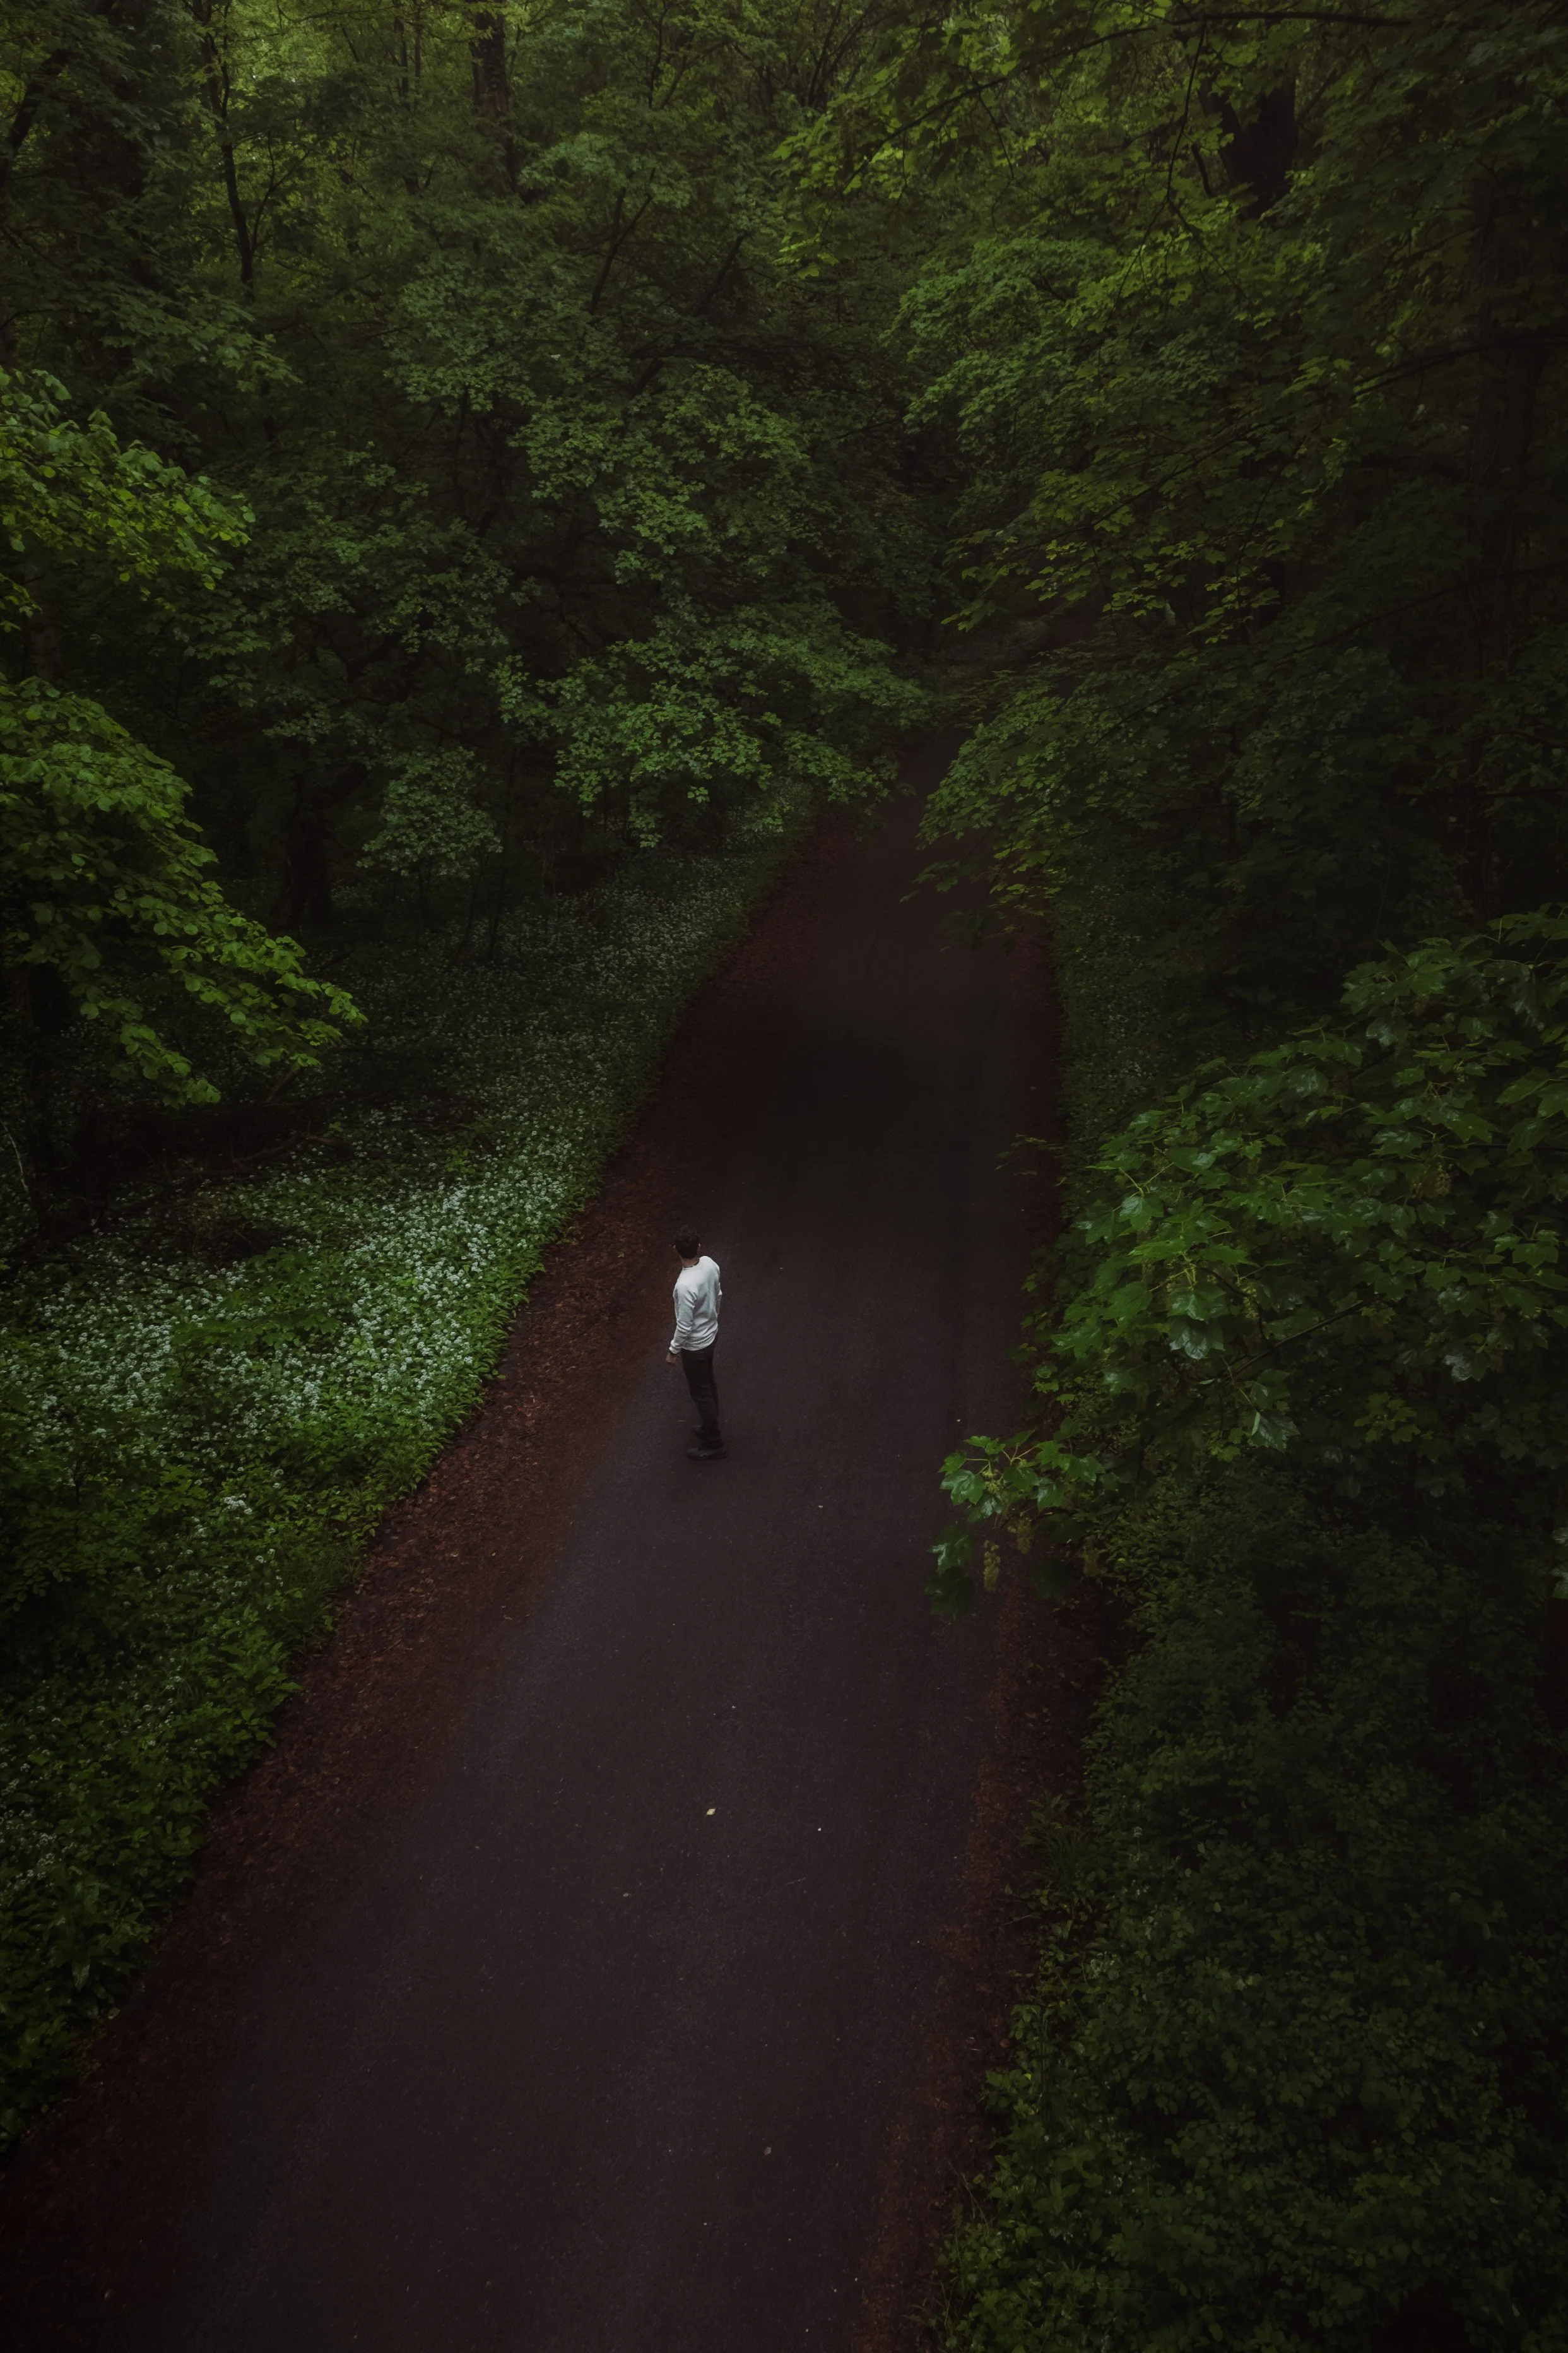
Before / after.
Real examples show most clearly how the same workflow responds to different subjects and types of light – without removing their individual character.
06 · If you want the full workflow
From a single idea to a process you can trust.
The articles give you a first direction. In the course, I guide you through the complete process – from assessing light and contrast to developing colour with intention.
In this Lightroom before and after, I show how I edited a portrait taken in soft dune light under an overcast sky. Instead of adding dramatic contrast, I focused on highlight control, subtle HSL adjustments, and careful luminance shaping to create natural separation between subject and background. The result is a calm, structured portrait that keeps its original atmosphere.